
Skim by Section
★ Why You'll Love this Recipe ★
Bright, Festive, and Fun
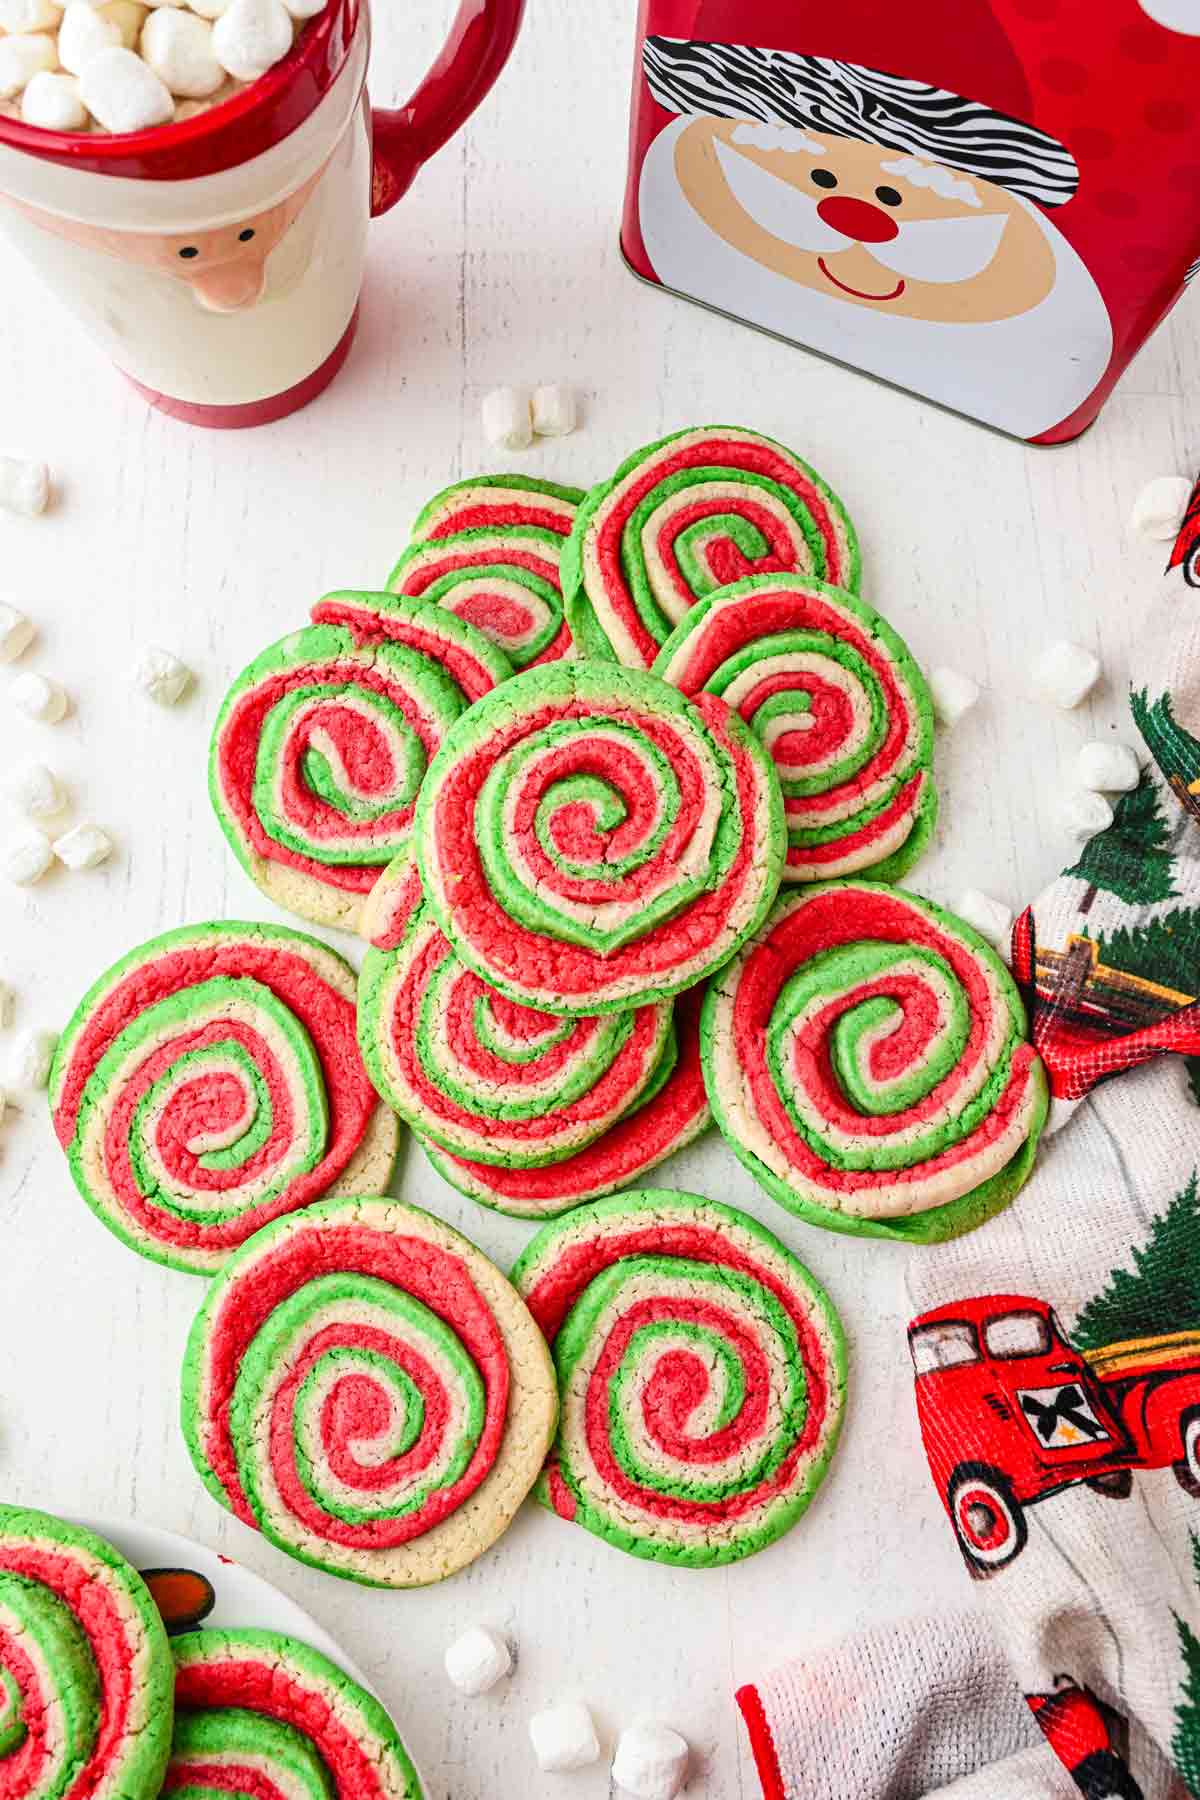
These Christmas Pinwheel Cookies bring instant cheer to your holiday baking! With red, green, and plain dough layered and rolled into a swirl, they bake into gorgeous, bright cookies that look like they came straight from Santa’s workshop. They’re the perfect way to add color and whimsy to your Christmas cookie platter.
Easy Yet Impressive
Despite their stunning design, these cookies are surprisingly simple to make. The dough mixes up like a basic sugar cookie, and after coloring and layering, you just roll it into a log, chill, slice, and bake! The result is an eye-catching treat that looks far more complicated than it really is.

Soft, Sweet, and Subtly Vanilla
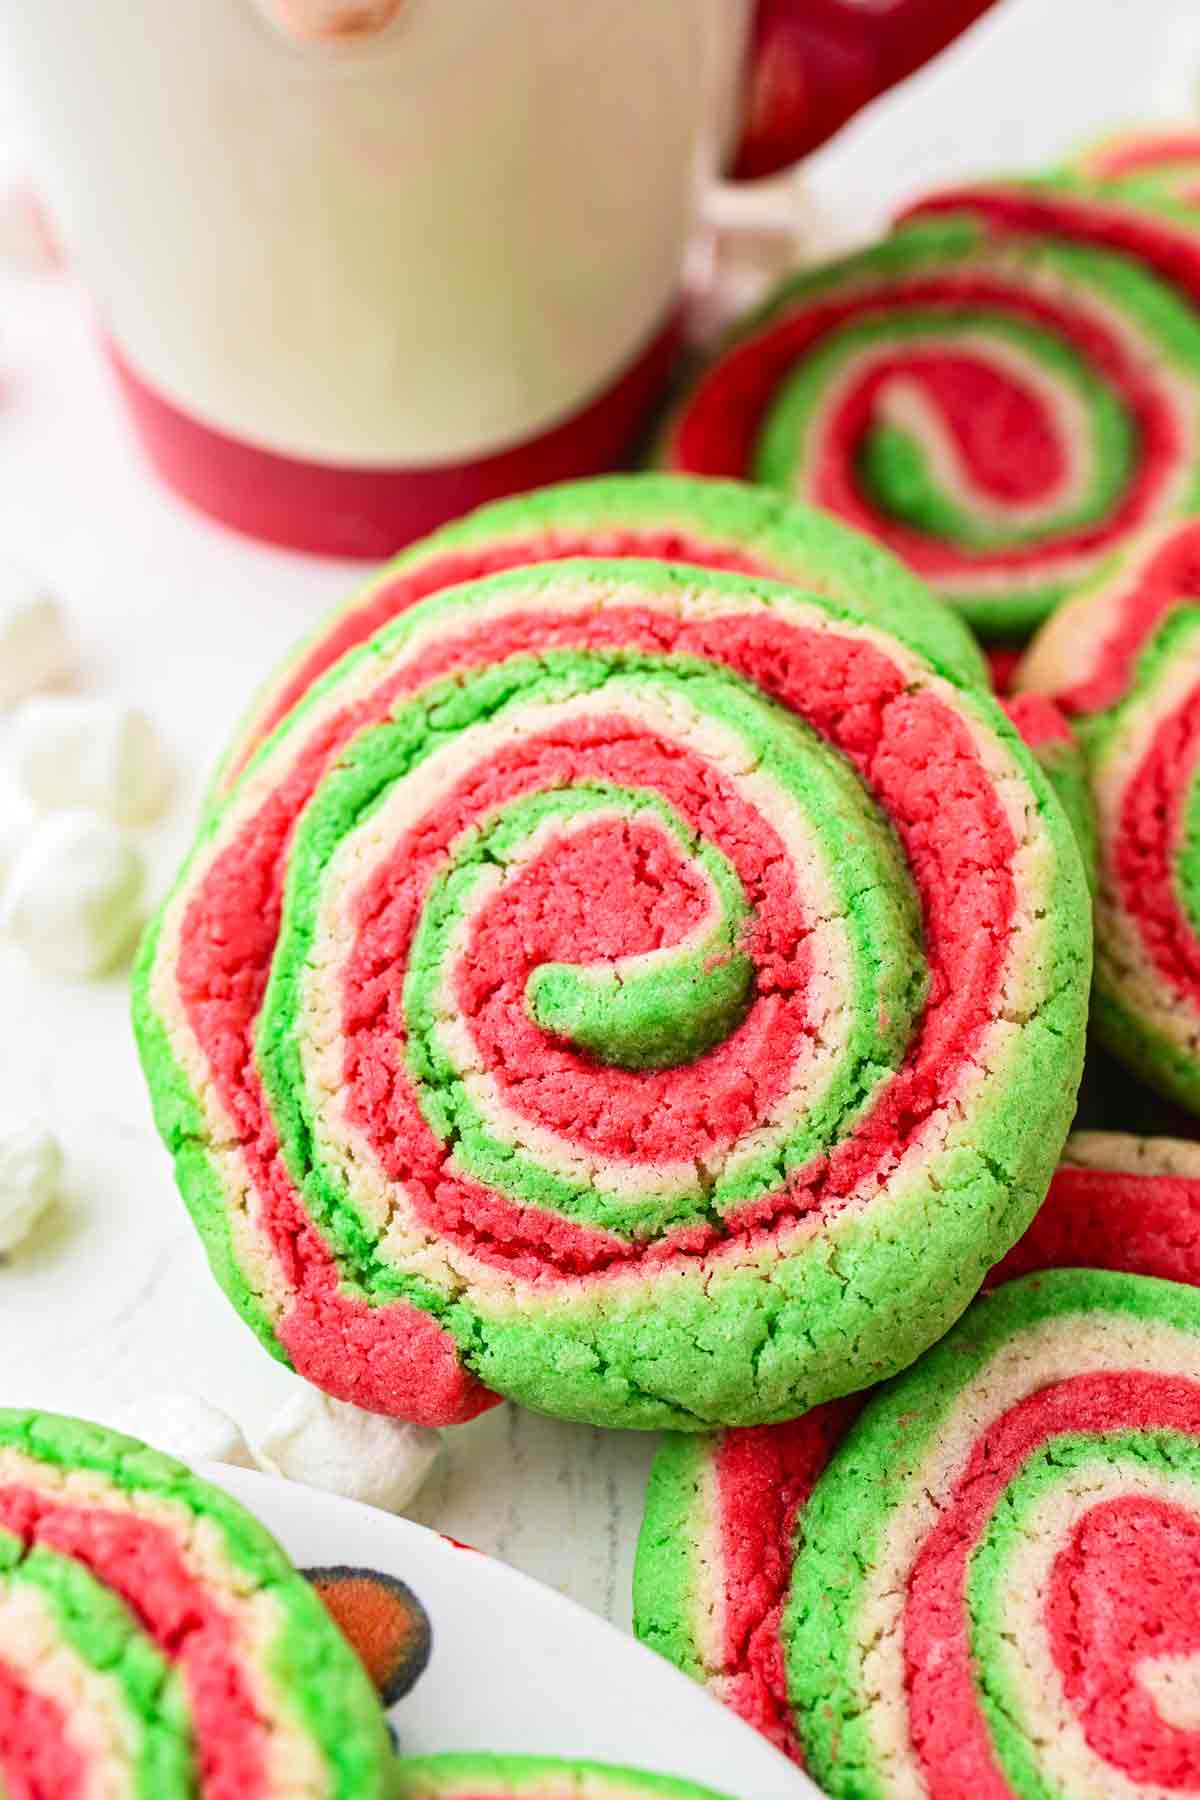
These cookies strike the perfect balance between a classic sugar cookie and a soft, fluffy lofthouse cookie. They’re sweet, buttery, and full of cozy vanilla flavor — just the kind of cookie you want with a glass of milk by the fireplace.
Make-Ahead Magic
The dough can be made ahead and refrigerated or frozen, making these perfect for cookie exchanges, parties, or baking with the kids. Once chilled, the dough slices easily and the spirals hold their shape beautifully when baked.
Santa-Approved Whimsy
Kids (and grown-ups) can’t resist the playful swirl and bright Christmas colors. They’re as fun to make as they are to eat — a festive tradition waiting to happen. And rumor has it… Santa absolutely loves them!
★ Ingredients You'll Need ★
Here's a look at everything you'll need to make this

- Butter. Salted and softened to room temperature.
- Sugar
- Egg
- Sour cream
- Vanilla extract
- All-purpose flour
- Baking powder
- Salt
- Milk. Any kind works. Higher fat will produce more rich flavor.
- Food coloring. Red and Green. Liquid or gel.
★ How to Make this Recipe ★

- Cream together butter and sugar then add vanilla, egg and sour cream.
- Mix together dry ingredients then add them to the wet ingredients.
- Mix in milk.
- Separate dough and color it. Wrap in plastic and chill.
- Layer dough then tightly roll it into a log and chill.
- Slice the log and bake. Let cool then enjoy or store.
★ Tips & FAQs ★
Creaming butter and sugar together adds air to the mixture and will make for a better textured cookie.
The first chill is to set the ingredients and rechill the butter so your cookies don’t spread that much when you bake the cookies. The second freezer chill is to reset the cookie dough after rolling it and make it solid so it’s easy to slice.
Your cookies will spread a little and you don’t want them to touch and ruin your swirl. Also cookies steam when they are baking and you want space between them so the bake evenly.
★ More Christmas Recipes ★
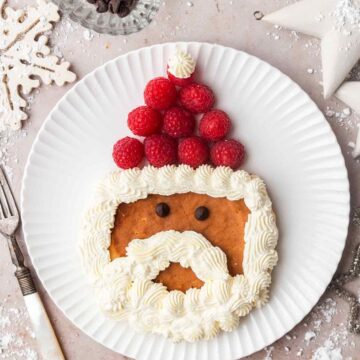


Browse all my easy Christmas recipes.
These old fashioned Christmas Pinwheel Cookies were featured on South Your Mouth!

Old Fashioned Christmas Pinwheel Cookies
Equipment
- silicon baking mat or parchment paper
Ingredients
- ½ cup butter (1 stick) salted
- 1 ½ cup sugar
- 1 egg
- 2 tablespoon sour cream
- 1 teaspoon vanilla extract
- 3 cups all-purpose flour
- 1 teaspoon baking powder
- ½ teaspoon salt
- ⅓ cup cup milk
- red food coloring to desired color
- green food coloring to desired color
Mighty Mrs. is a #WalmartPartner.
Instructions
- Combine wet ingredients. Add butter and sugar to a large bowl and sugar and cream together with an electric mixer. Mix in egg, vanilla and sour cream until smooth.
- Combine dry ingredients. Add flour, baking powder and salt to a medium bowl or large measuring cup and whisk together.
- Combine wet and dry ingredients. Add about half the flour mixture to the butter mixture and mix on low to combine. Mix in milk then add remaining flour and mix, just until the flour disappears.
- Divide and color dough. Divide cookie dough into three equal parts. Add enough red food coloring to one part of the cookie dough until you achieve the color you want.Add green food coloring to a second part of the dough until you achieve the color you want.Leave the third part undyed. Flatten each color dough into a thick disk then wrap in plastic wrap and chill in the refrigerator for at least 1 hour.
- Roll out and layer dough. Remove one color of dough from the fridge. Flour your flat, clean workspace (a large cutting board or counter). Roll out the first disk of dough into as close to a square as possible, about 10 x 10”. Make sure the dough is still moveable off the counter and not stuck. Roll out the second disk of dough the same as the first. Lift the second layer of dough and place it rolled-side down on top of the first layer, brushing any extra flour off the surface of the second layer. Roll out the third disk of dough and layer it in the same way, brushing away extra flour. Once all 3 colors are stacked, roll them in one direction with your rolling pin to elongate to a 10x12 rectangle, pressing the layers together.
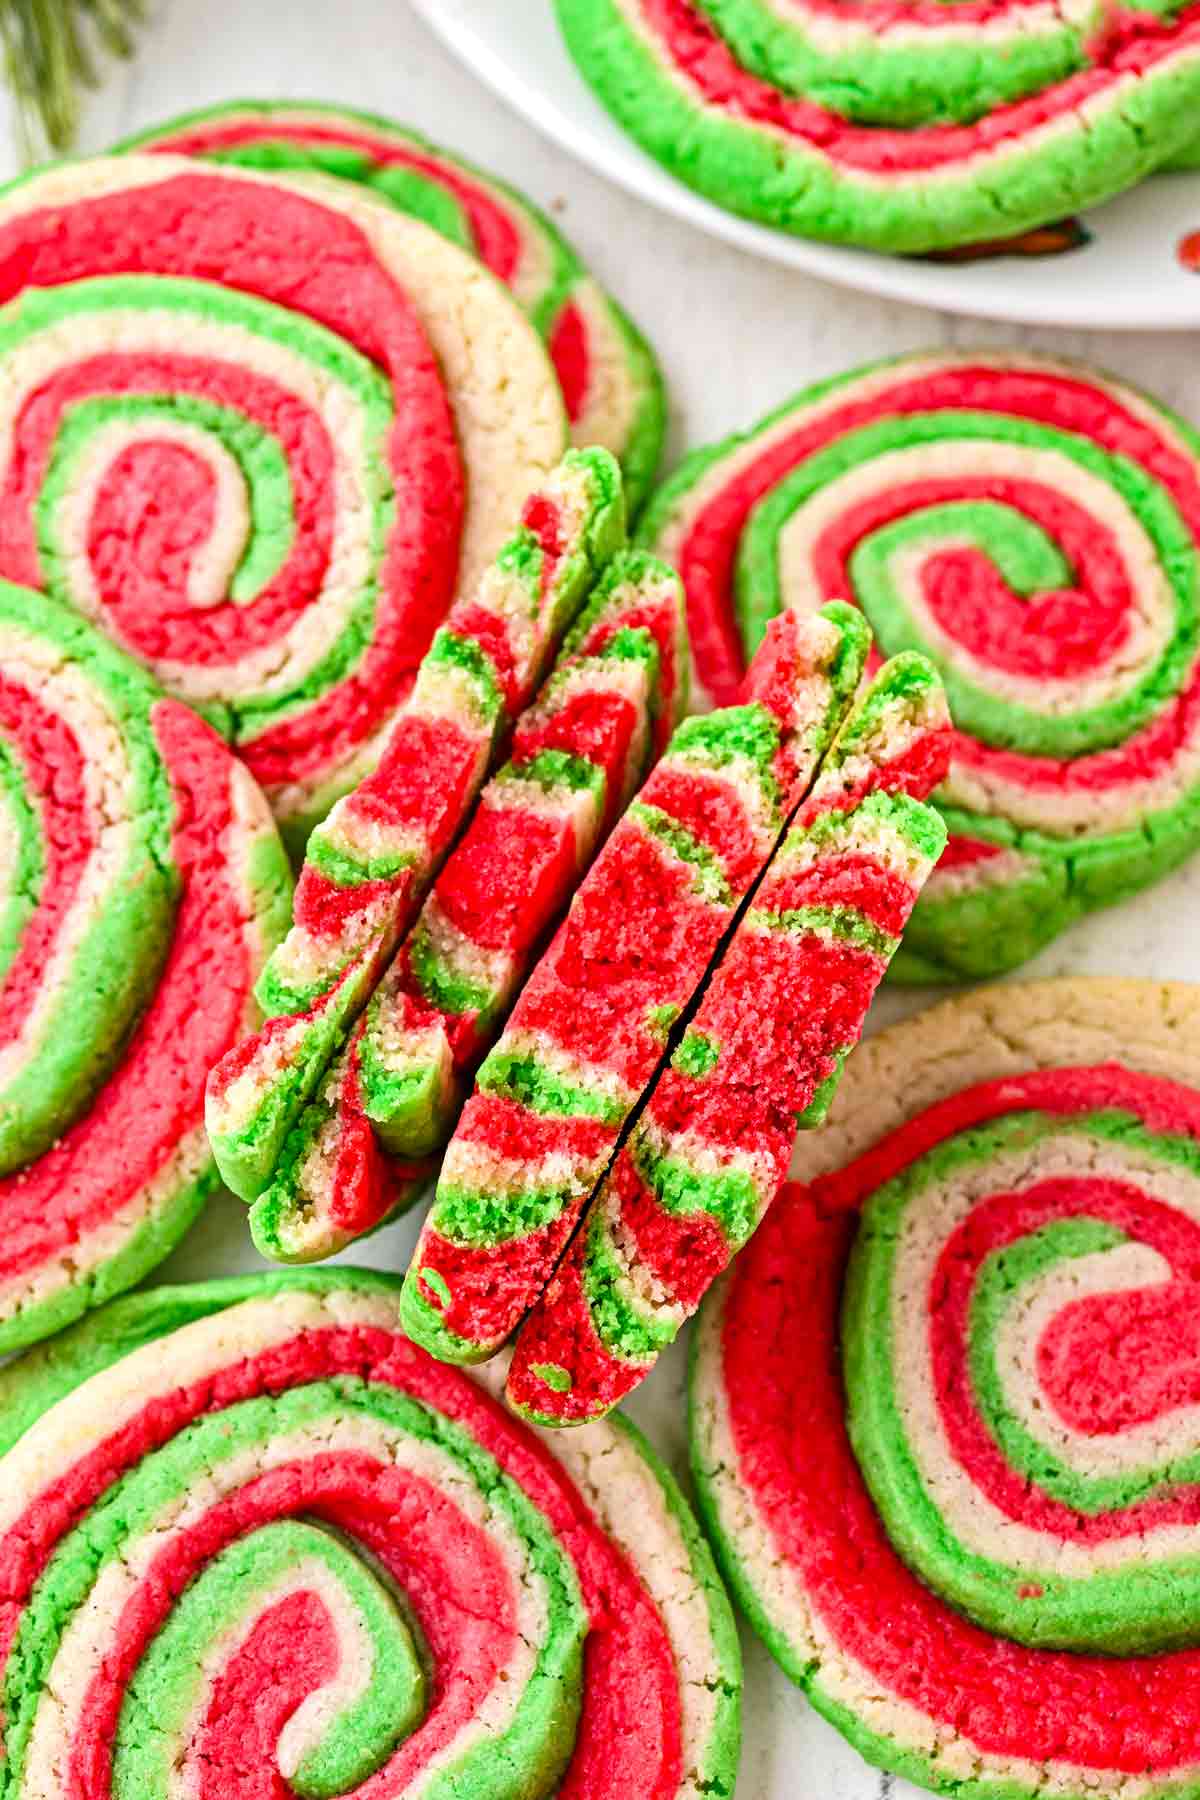
- Roll and chill dough. Start from the longer 12” side and roll the dough tightly towards the other end of the dough, creating a swirled log of dough. Brush off any extra flour from the very bottom as you roll so it will stick as it’s being rolled. Press the rolled dough so that it’s an even thickness.Place dough roll in the freezer for about 30 minutes to make it easier to slice.
- Preheat oven to 350°F and line your cookie sheets with parchment paper.
- Remove dough from freezer and cut slices with a sharp knife about ¼ “ thick. Lay slices onto baking sheet with at least 1" between. Bake for 9-11 minutes until just golden on the edges. Remove from oven and allow to cool on the pan for about 5 minutes then transfer to a wire cooling rack to completely cool.
Notes
- Be Prepared to make a great pinwheel cookie: Gather all your ingredients at once and allow them to come to room temperature. You won’t be preheating your oven right away, so you can wait to prep your cookie sheets.
- Keep it tight: Keep your roll tight while you're rolling it so all the layers hold together. Make sure you remove as much of the flour used to help roll out the dough so the layers stick together.
- Check the bottom: Check the bottoms of your cookies to see if it is golden brown. That will help you tell if they are baked. If it’s still blonde, add a minute or two longer to the bake.
- Allow Cookies to Cool: Make sure you cool the cookies completely before you move them around so they don’t break apart.


Eartha Susanna says
Learned something new today!. Loved the way you summarized key points.