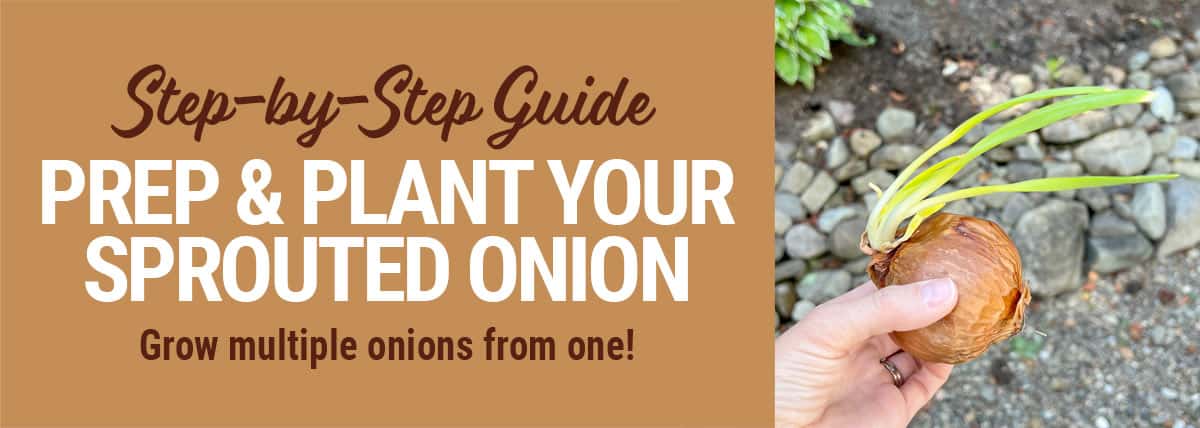
Yes, you can plant a sprouted onion!
So, you have an onion or two that you bought from the grocery store, that have now sprouted in the pantry. And you're wondering, "Can I plant these sprouted onions and regrow a new, fresh onion?"
In short, the answer is, YES! You can plant a sprouted onion and grow a new one. Actually, usually you can get three new onions from one sprouted onion!
But, you can't just plant a whole onion in the ground. You'll need to do a little bit of prep work first. Don't worry, it's not hard at all.
I'll show you how.
So, grab your sprouted onion and let's go!
★ Steps to Plant a Sprouted Onion ★
Here's how to regrow a sprouted onion in just 7 steps from preparing your sprouted onion to harvesting and storing your newly grown onions. Easy enough for a beginner gardener to pull off.
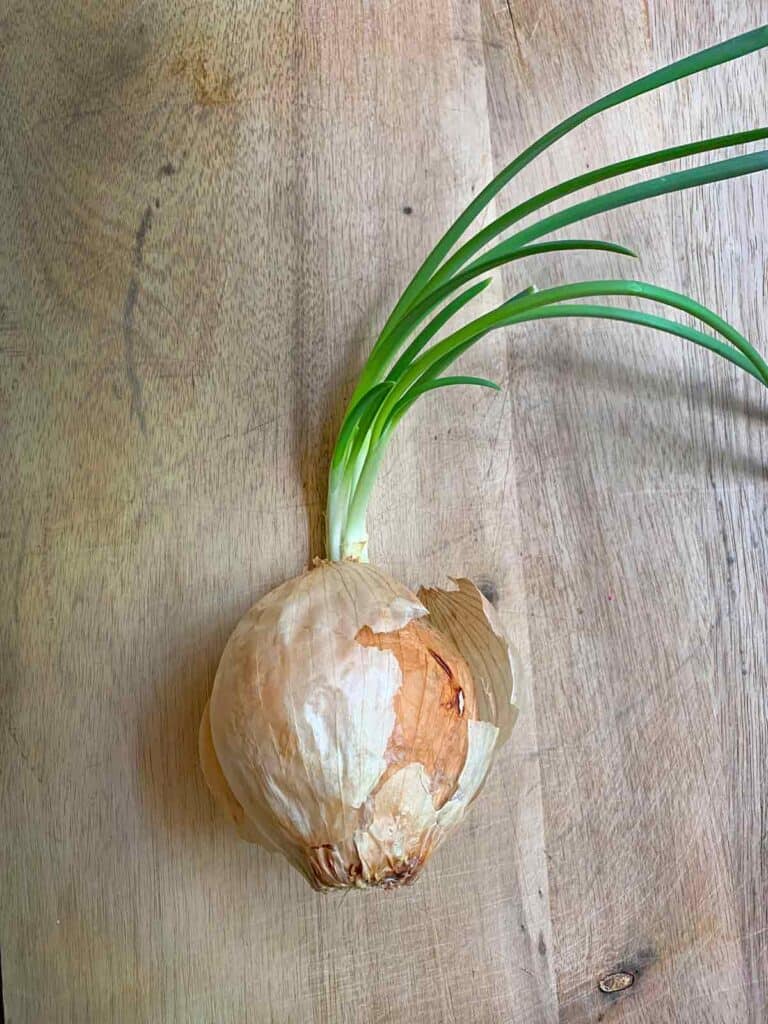
Step 1: Peel the sprouted onion.
Peel off the "meat" of the onion, layer by layer, down to the center.
If your onion has sprouted, chances are some of the outer layers will be soft and may be starting to rot if your onion has started sprouting. If not, you can still eat the outer layers of onion that are not rotten, so don't toss them!
To get to the part of the onion you can plant, you need to peel away the layers of the onion bulb, all the way down until you get to just the clump of green sprouts.
I don't use a special tool for this. I just peel the layers off with clean hands.
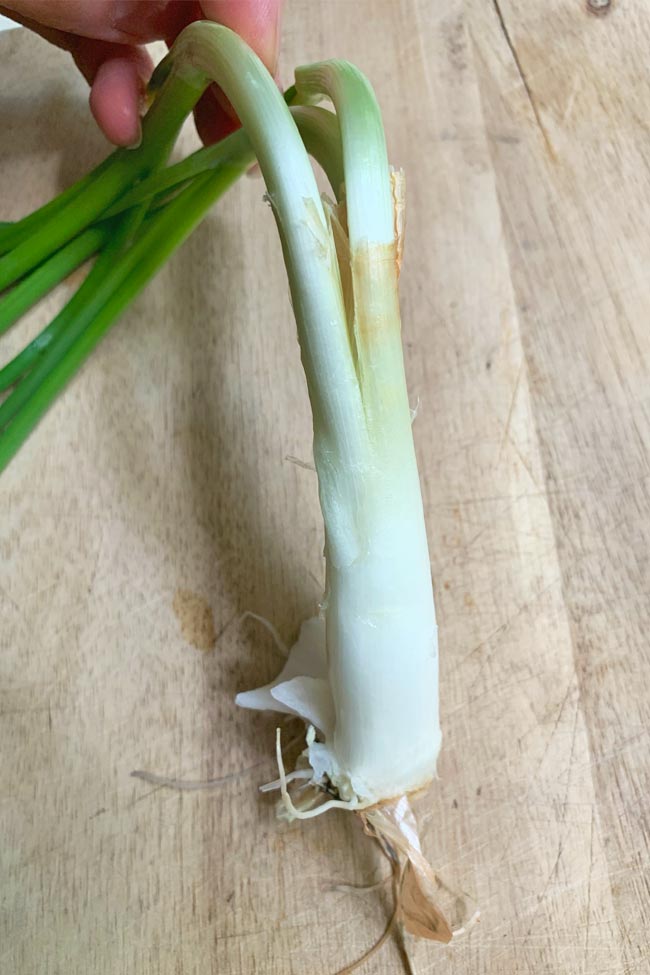
Step 2: Separate the sprouts.
Once you get to the center of your onion, you'll want to carefully separate the green sprouts into individual plants.
Peel away any final layers of onion skin to reveal the separate plants if you haven't already.
Usually each sprouted onion will contain three separate plants! Sometimes less, sometimes more. It's a fun little surprise to see how many you will get.
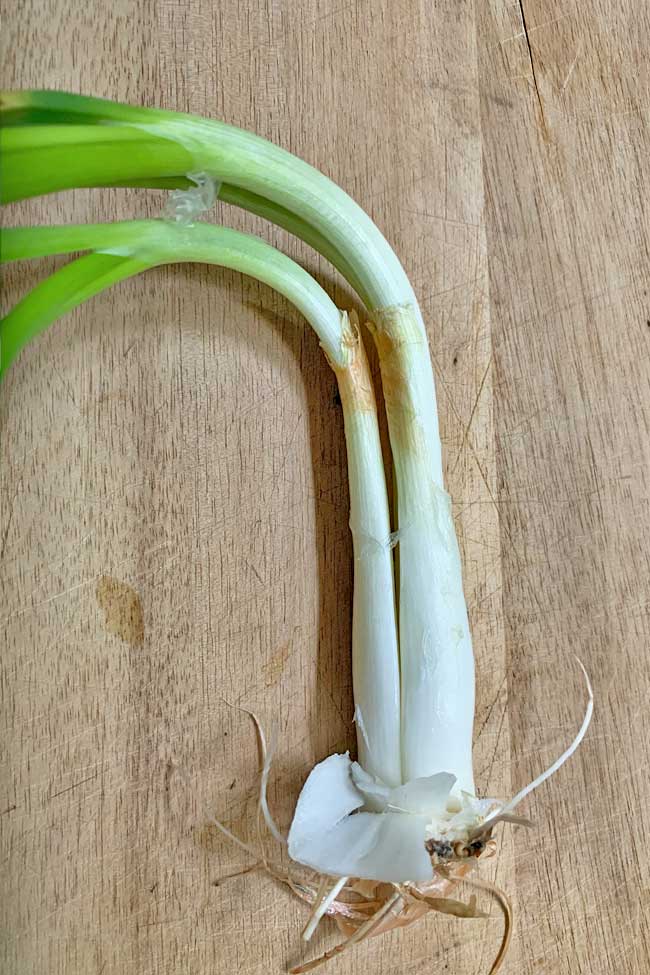
Step 3: Separate each onion plant.
Carefully cut apart each spout, at the root, with a serrated kitchen knife.
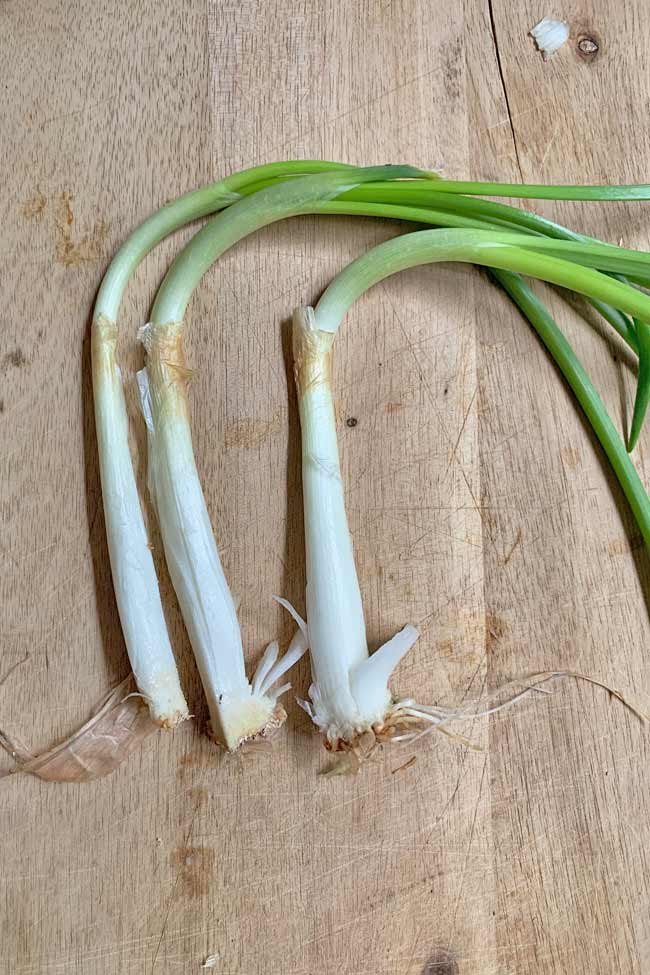
Ensure that each sprout has some roots attached.
Step 4: Plant your onion sprouts.
Your onion sprouts will survive for up to 3 weeks before you need to plant them. You do not need to store them in water or soak them before planting. Do store them in a cool dry place though to prevent them from rotting.
Where to Plant Your Onions
You will need to plant your onion sprouts in full sun.
Onions require a lot of light. 12 or more hours of direct sunlight is necessary. So find a sunny spot in your yard, with loose soil, and plant your seedling spouts.
How Deep to Bury Your Onion Plants
Onion plants don't need to be buried very deep. You should plant the seedlings just 1" into the ground and space them at least 4" apart so the bulbs have room to grow.
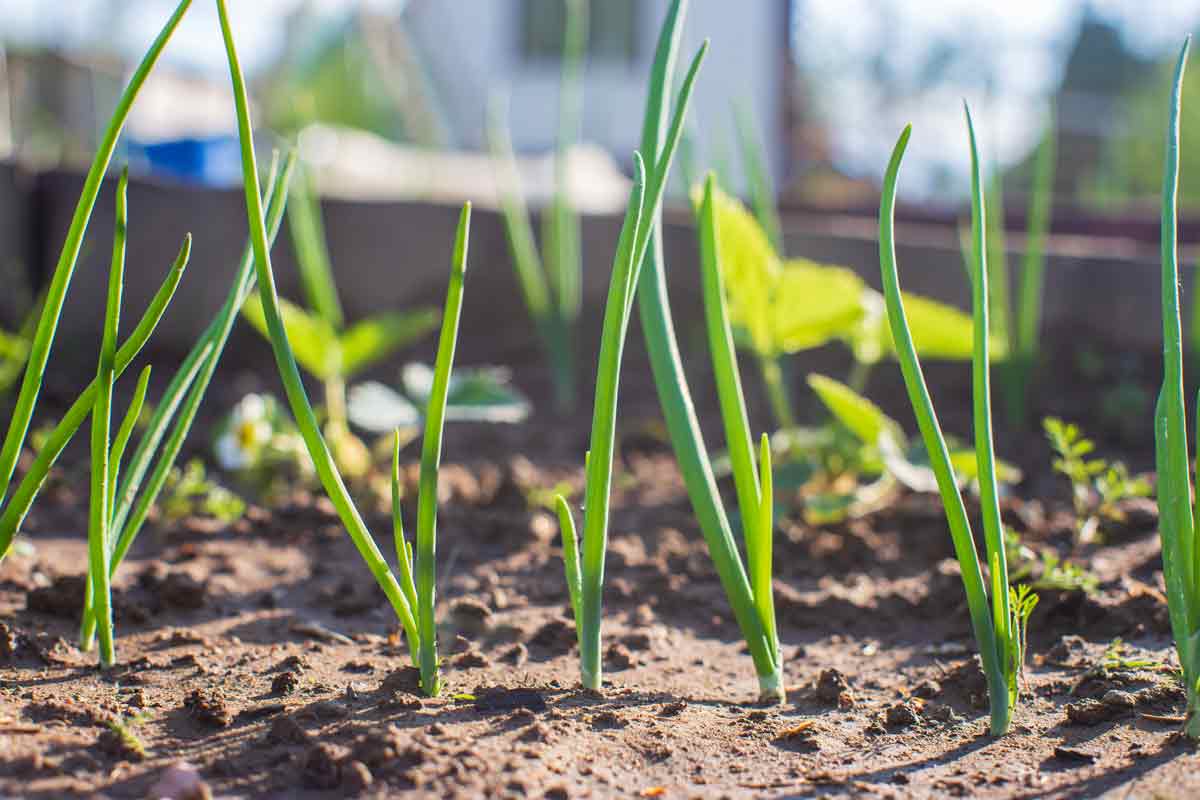
Note: Planted onion sprouts will take about 3 weeks to look perky.
Step 5: Care for your onion plants.
Continue to water and weed around your onion plants. Fertilize as needed.
Onion plants prefer to be watered in cycles rather than every day. So you can water them about once a week unless the soil and plants start to visibly look too dry. Avoid overwatering as this can rot your onion bulbs.
Fertilize if your soil is not very rich.
Onions grow best in fertilized, well-drained, somewhat acidic soil. You can use organic (manure, compost, etc.) or store-bought fertilizer to ensure your soil has the nutrients it needs to nourish your onion to its fullest potential. Read more about how to test your soil for acidity.
Note: You do not want your onion plant to flower. If it does, the bolting process has started and the bulb will not continue to grow. You'll want to harvest a plant that has begun the bolting process whether it has a flower or not.
You can still use the onion bulb, it may just be small. Sometimes due to changes in temperature, an onion plant will flower prematurely. This can happen just as a fluke too so it's best to plant multiple onion sprouts for better odds of scoring a full-grown onion!
Step 6: Harvest your onions.
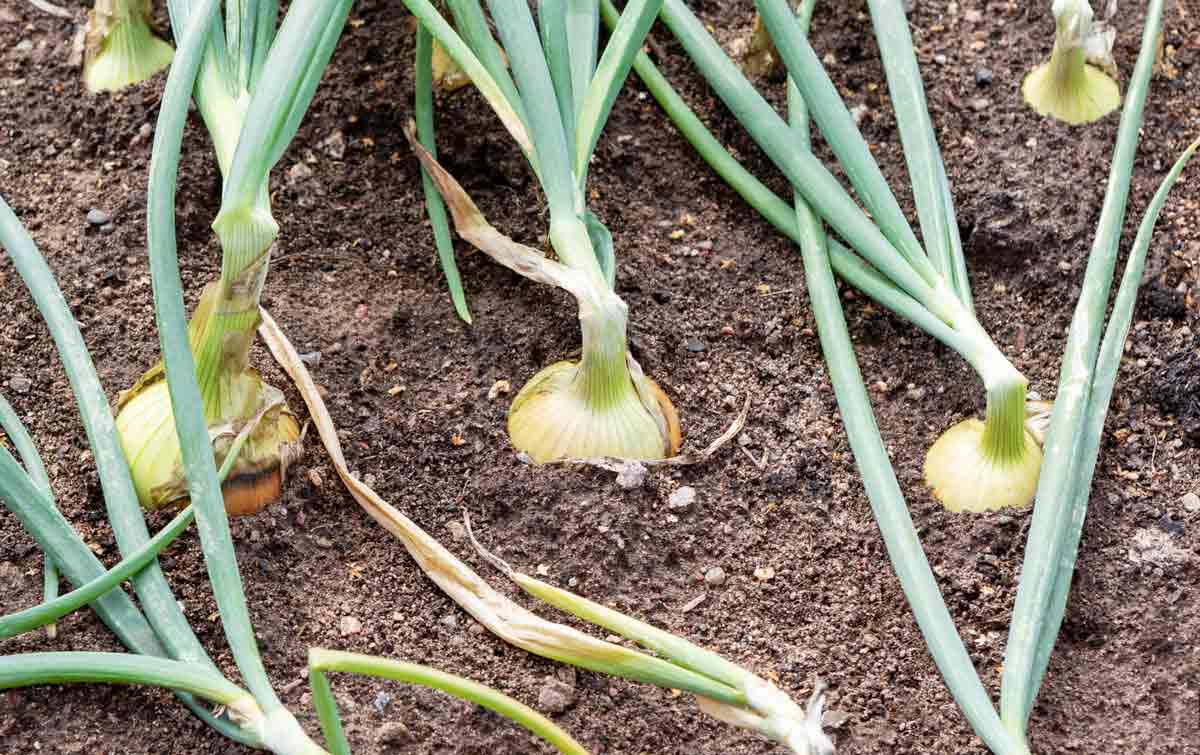
How Long to Let Onions Grow Before Harvesting
Your onions should grow for about 3 months to reach optimum size which is when the bulb reaches the size of a baseball. You will be able to see the top of the onion as it grows and can get a good idea of its size without digging it up.
If your onion does not flower then you can let it grow up until the first frost.*
How to Harvest your Onions
Harvest by pulling the onion out of the ground and then brushing them to remove dirt.
Do not wash your onions.
Do not rinse your onions to clean them off. You want to keep the onions dry to avoid rot. Allow them to dry then you can brush away any dirt.
Storing Harvested Onions
If you're ready to eat your onion, go ahead! They are ready to eat as soon as you pull them out of the ground. If you want to store them for later, read on.
Step 7: Cure your onions for storage.
This is important if you have a large harvest of onions that you won't use right away.
So, if you plan to store your onions for any length of time, then you'll want to cure them first. Curing is easy. It's essentially just drying out the onion and letting its skin become it's protective "container."
How to Cure Harvested Onions
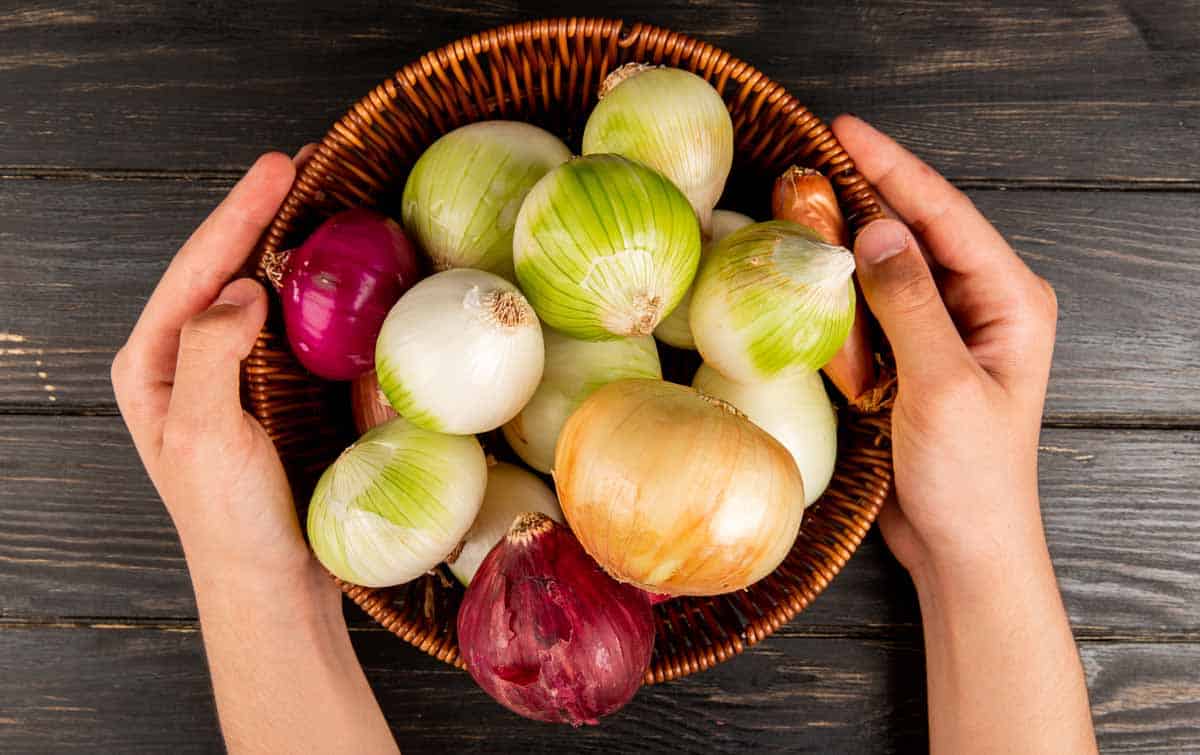
You can "cure" your onion for long-term storage by letting them sit in a warm place (75-80˚F) to dry up. You can hang them or place them in a wire basket or mesh bag with good airflow so all sides dry evenly.
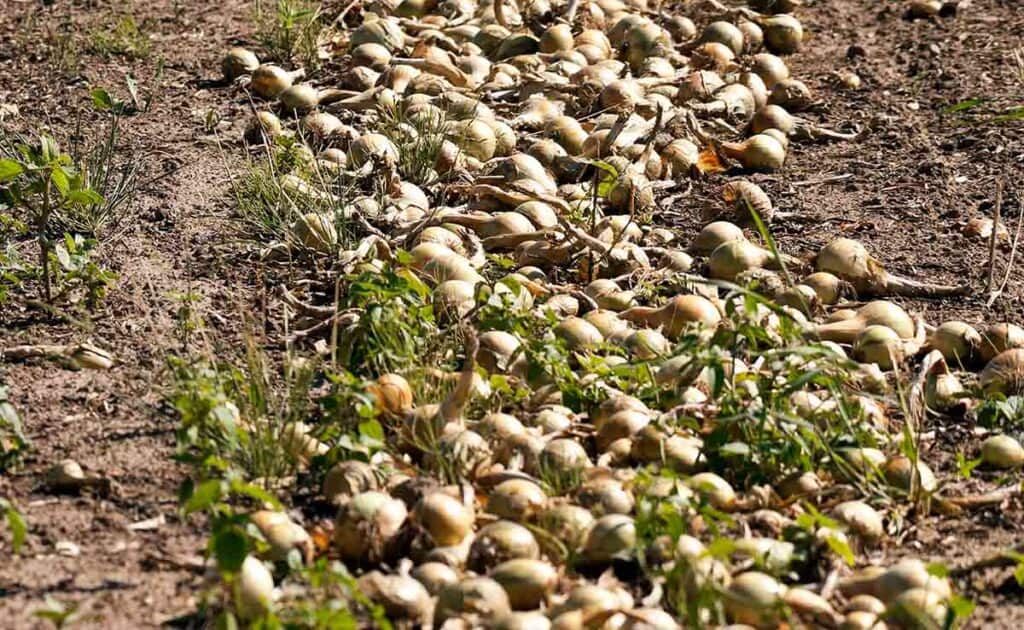
Trapped moisture may lead to rot so make sure all sides of the onion get exposure to air either by rotating the onion or hanging each onion individually. Some people lay them out in the garden and rotate them so all sides get a chance to dry out.
The green tops will dry up and the outside layer of skin will firm up. When the stems are completely dry, they are cured. Depending on the size and type of onion, it can take 2-6 weeks to completely cure the onion.
Storage After Curing
Once cured store your onions in a cool, dry place. Cured onions, depending on the type and size, can be stored for as long as 10 months!
And if your onion begins to sprout before you get to use it... you now know what to do! Use that sprouted onion to grow more onions!
★ FAQs ★
Onion plants rely on insects to be pollinated. However, when you're re-growing an onion from another onion that has sprouted, that plant has already been pollinated. So you can regrow it indoors.
Onions require a substantial amount of sunlight to thrive. They need 12+ hours of direct sunlight. Onions to not grow well in shade or even in indirect light. So if growing onions indoors, you will most likely need to use a grow light to provide enough quality light to meet their needs.
This depends where you live. Generally, spring is when you will want to plant. You will want to make sure that the temperature does not drop below 28°F (-2°C). You can keep your onion sprouts indoors for up to 6 weeks before transplanting to the ground if needed.
Note: The ideal soil temperature for onions is 50°F (10˚C) and above.
Yes, you can regrow any color onion that has sprouted! White, yellow, or red.
★ Recipes You'll Love ★
Once you've grown new onions, try making some yummy food with them!
I have a ton of easy recipes to give you ideas for what to make with your garden-fresh onions.
Browse all my super easy recipes and Pin your favorites for later.
★ More to Grow ★
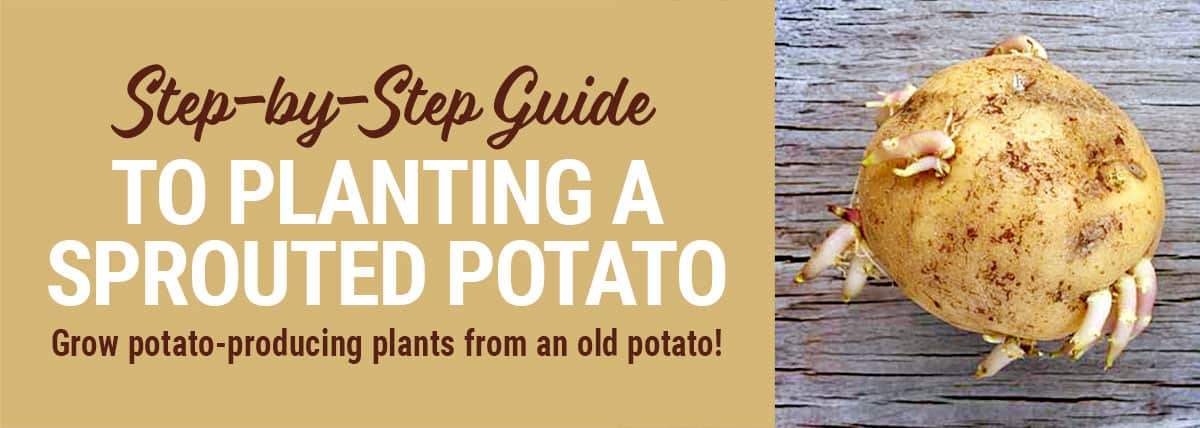
Did you know you can also regrow a sprouted potato?
")

")

Brigitte says
One more thing: does it matter that the shoots don't have their own roots yet - just the basal cells attached-?
Many thanks! Bx
Angela G. says
Good question! The basal plate (bottom of the onion) is the important part. Roots will grow after planting as long as a little of the root end is attached.
Brigitte says
Brilliant, thanks so much! Bx
Brigitte says
Brilliant, Thanks once again! Bx
Brigitte says
Thank you so much for your advice - I'm curious as to why you stipulate a serrated knife-? Instinctively I would use the sharpest knife I have...
Angela G. says
The knife is just a personal preference. Really, any sharp knife will work.
Sidney says
Hi Angela,
Just wanted to let you know that I stumbled on this site while trying to do my research on how I could plant onions. Thank you so much for the detailed info and all the pictures, you are my onion hero! 😊
Now I'm off to go plant some onion!
~Writing all the way from Nigeria.
Misty says
I finally found some detailed info on spouted onions! Thank you for posting this. 😊 I also appreciate the explanation of preparing onions for storage. We were under the impression that store bought onions could not produce more when planted. I have some purple (or red?) onions that I peeled back and divided the plants within. (I had no idea!) As of now, I only see one short root on two out of seven plants. Is that enough to grow?
Angela G. says
Hi Misty, Yes, even the short roots will be enough! Good luck. If you have any other questions, feel free to leave a comment. 🙂
Misty says
Thank you so much for your time in answering my question! ❤️
Lynn Ronchetto says
Thank you!! This was concise and most welcome information. I am working your magic on 5 onion sprouts right now!! Fingers crossed!!
Angela G. says
That's great, Lynn! Good luck with your onions.
Mel says
One more question . . . Sorry! You mentioned that you don't need to plant the sprouts right away after you've separated them. I planted mine immediately, but was wondering . . . what is the best way to store the separated sprouts if I choose to wait up to 3 weeks next time? i.e. Do you store them in the fridge? Do they need to be wrapped?
Angela G. says
A dry spot in the fridge or a cool basement or cellar will work. They do not need to be wrapped, you want them to have some airflow to prevent rotting.
Mel says
Thank you so much for these detailed instructions and pictures, super helpful and easy to follow!!! An onion was sitting on my counter from Thanksgiving (2+ months!?!) and sprouted green like crazy!!! So I did a Google search to see if I could grow a sprouted onion and how. I'm grateful to have stumbled on your site! I just divided mine - there were (5)! 2 questions: 1) Will the onions still grow if I cut off the greens to eat? Or should I wait for the onions to grow and then use the greens after I pull the onion out of the ground? 2) What can the green sprouts be used for? Sliced fresh in salads? or cooked in dishes that you would typically use onions in? or??? Thanks again! Looking forward to seeing more of your great planting tutorials!
Angela G. says
Hi Mel, Glad you found the tutorial helpful! Here are my answers to your questions: 1) I would keep the greens in tact since this is the beginning of your new onion plant but yes, you can trim and use them once you grow and harvest your new onions. 2) You can use the greens just like you would a green onion. They are not the exact same, a bit more mild but still edible. They make a great garnish, add them to dips, marinades, soups, etc. or add them when you are cooking meat as a seasoning.
dale says
i wrap my onions in wet socks a couple hours before I plant them.
Victoria says
I have question Can i grow onions in pots ?
I have sprouted onion but will be moving so I want to get it going in a pot
Angela G. says
Hi Victoria, I think you could get away with starting it in a pot, keeping it in a very sunny place, then transferring it outside as soon as you're able to.
Chris says
Can onions be left in the ground even after the first frost?
I planted the Little Onion bulbs last year and then harvested them as I needed. Surprisingly I had two onions come up in the spring where these were planted last year. I am in zone 4-5.
Angela G. says
Onions can withstand a light frost. Onions are quite hardy and can tolerate temperatures down to around 20°F (-6°C) depending on the variety. You can use mulch, row covers or frost blankets to add an extra layer of protection against frost.
PRISCILLA says
Great, thanks. My first try. Fingers crossed. It was the Winter solstice yesterday on S. AFRICA! Sunshine today, expecting rain.next few days.
Angela G. says
Best of luck to you!!
Bear says
I just planted my sprouted 'onion' in the ground 6 weeks ago and its grown rapidly even though its only in partial sun, as its in shade after one o' clock and its now days away from flowering. Its been nowhere near 100 days or three months since planting so do i cut the buds off the plant and leave it to get bigger???, Im 70 years old and confused.
Please Advise. Mr Bear
Angela G. says
Hi Mr. Bear, Once an onion plant has bolted, the bulb (the onion) will stop growing. So, best to dig it up and see what you got. You may just end up with a small onion but you can still use it to eat.
Danita says
What about the green tops, are they edible? Are they essentially green onions?
Angela G. says
Yes! The green tops are edible. So is the onion flower, actually. The greens from the top of an immature onion bulb are known as spring onions, or green onions.
Marquita says
I’m just wondering at what point in the year can these sprouted onions be planted outside? Before or after last frost? Thanks!
Ginger says
You may have your answer already but since no one has responded to you the only thing I see to answer you is this...
The article says...
FAQ: When should I plant my onion sprouts?
This depends where you live. Generally, spring is when you will want to plant. You will want to make sure that the temperature does not drop below 28°F (-2°C). You can keep your onion sprouts indoors for up to 6 weeks before transplanting to the ground if needed.
Note: The ideal soil temperature for onions is 50°F (10˚C) and above.
Yvette says
Once the night time temperatures is above 25 degrees.
Barbie says
After the last frost and after the low temps are more than 28°.