Skim by Section
★ Why You'll Love this Recipe ★
Why You'll Love This Chocolate Chip Scones Recipe
These chocolate chip scones are so easy to make and taste amazing! They’ve quickly become a go-to in our kitchen for a quick, sweet treat.
Lightened Up but Still Delicious
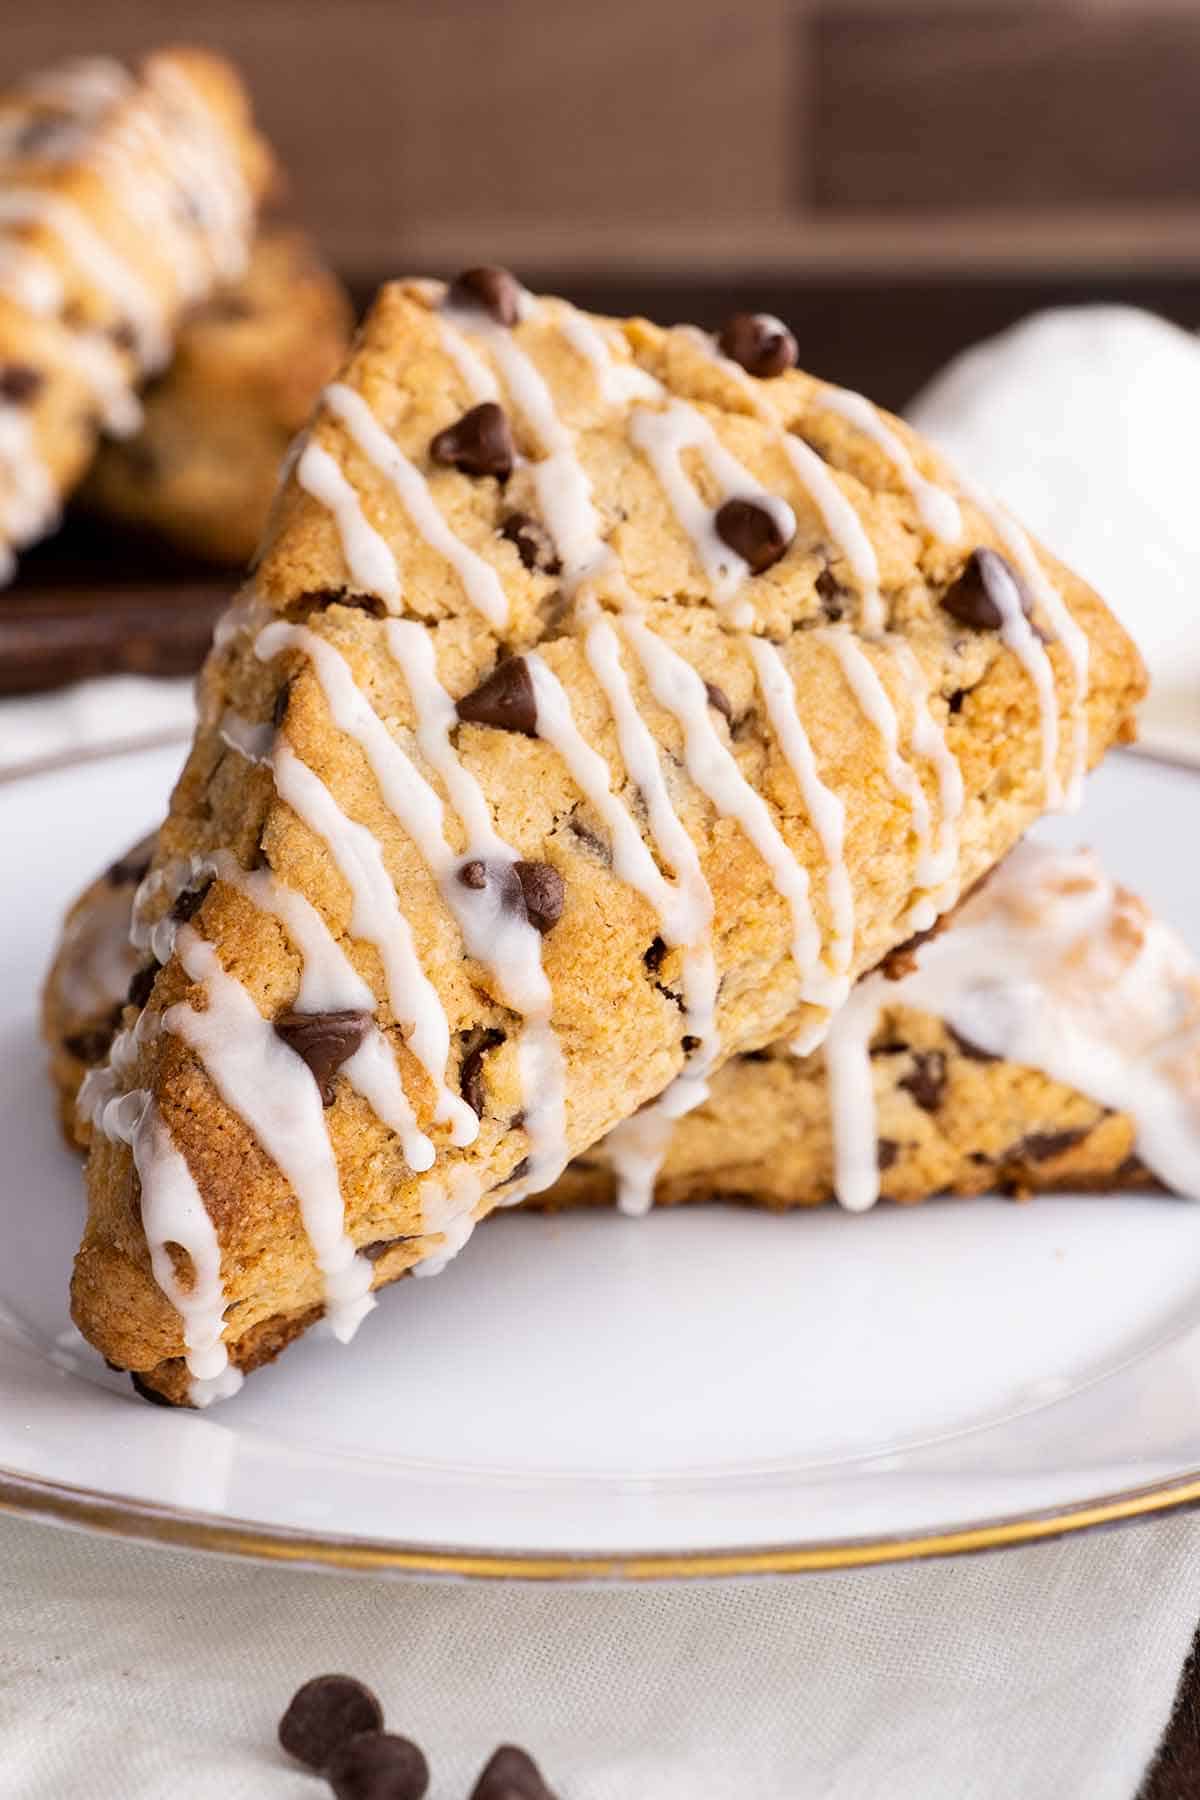
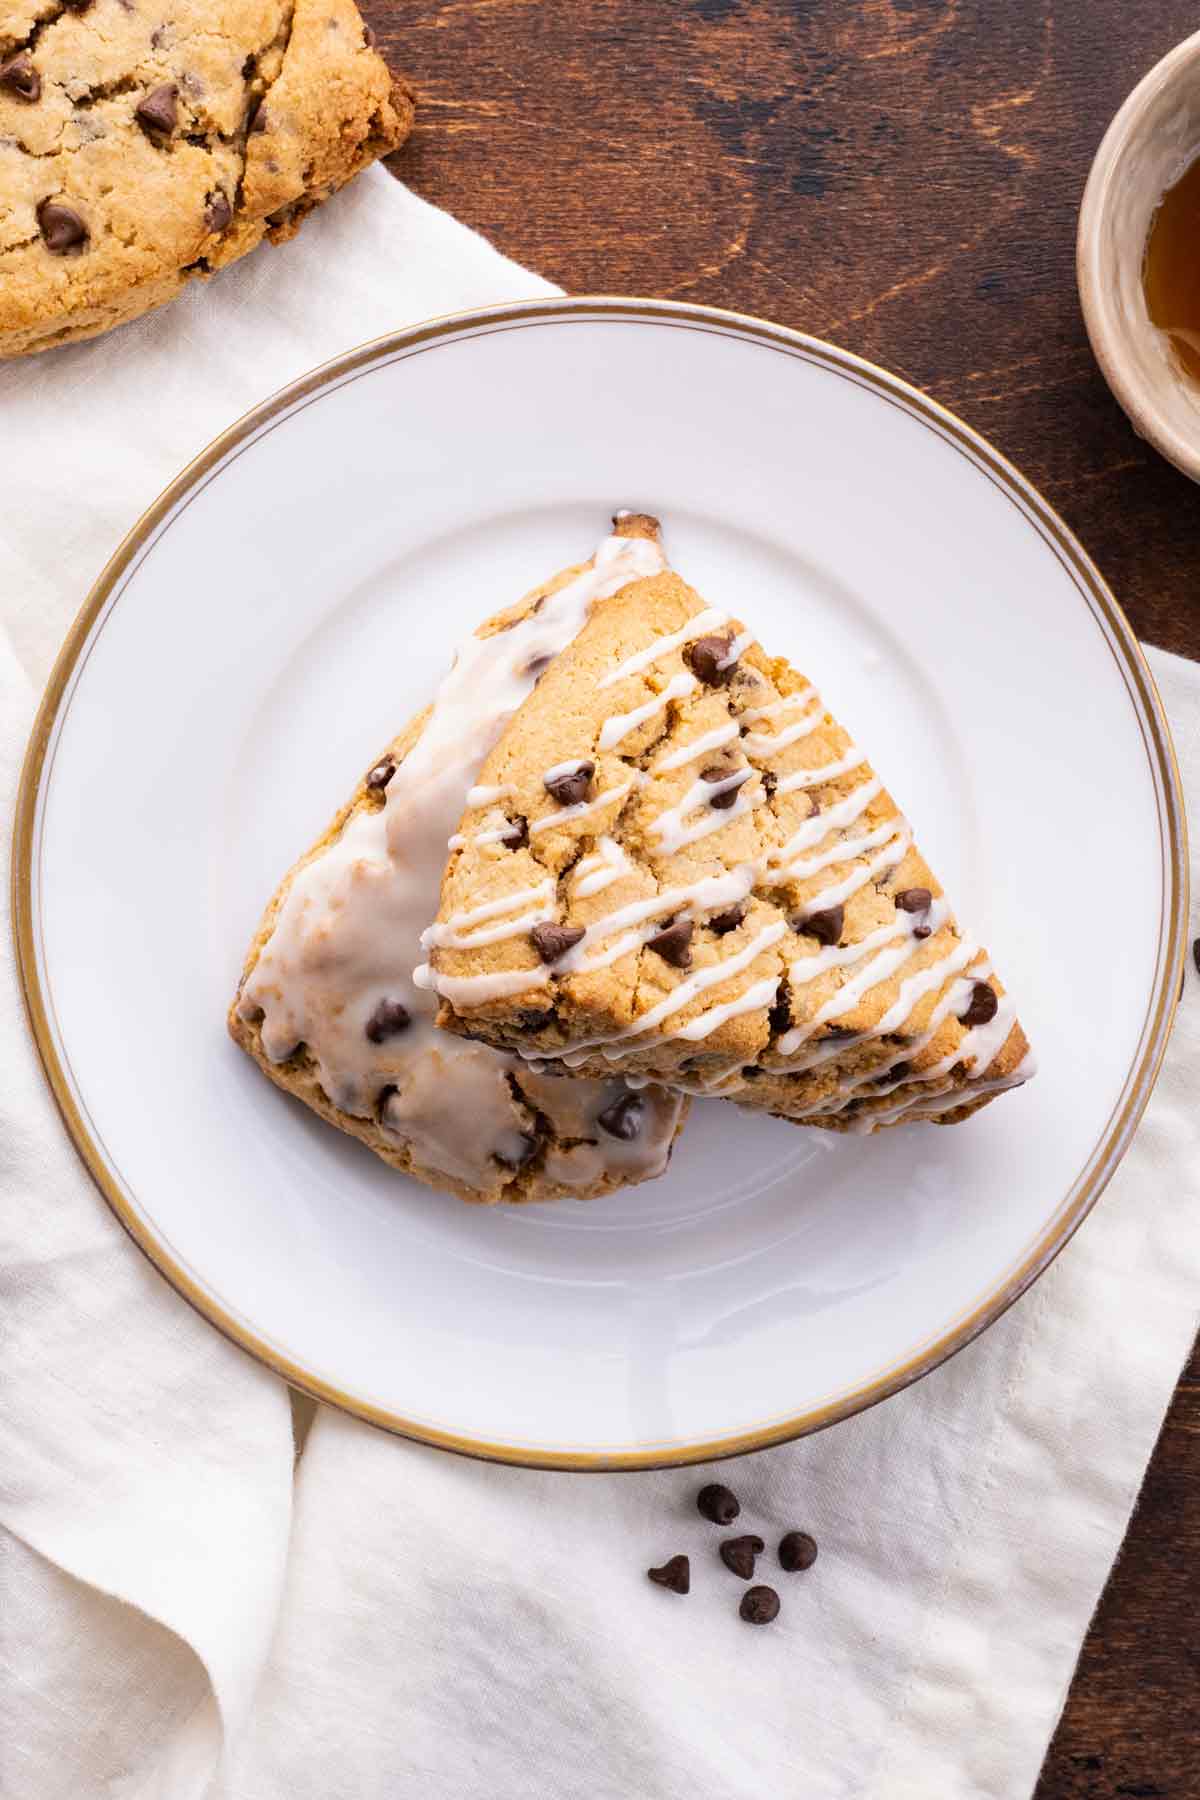
Lighter than a donut but still full of flavor, these scones use maple syrup and chocolate chips for just the right touch of sweetness.
Two Ways to Make Them
You can add cocoa powder for a richer look and flavor—or skip it! Both versions are delicious and shown in the recipe photos.
Great for Breakfast or Snacking
Soft, slightly crumbly, and melt-in-your-mouth good. Perfect with coffee, for brunch, or an after-school snack.
Melt in Your Mouth Delicious
Whole wheat flour, maple syrup, and cocoa give these scones flavor without being too rich. They’re dry yet tender and so satisfying!
★ Ingredients You'll Need ★
Everything You Need to Make these Scones
Scones can be made with pretty common ingredients you likely already have in your pantry. So, if you get the urge to do some baking, chances are you might not even have to make a special trip to the store.

For the scones: flour, mini chocolate chips, butter, vanilla, maple syrup, eggs, and sugar.
For the icing: powdered sugar and milk to make a quick icing.
★ Tips & FAQs ★
My source of inspiration for making scones was Amy's Healthy Baking triple chocolate scones. She’s great at making healthier sweets. I tried her Greek yogurt version—tasty and kid-approved—but I really wanted that classic dry, crumbly scone texture. So I tweaked things and came up with the recipe below. It skips the yogurt but still keeps things lighter than traditional scones—without sacrificing flavor or texture.
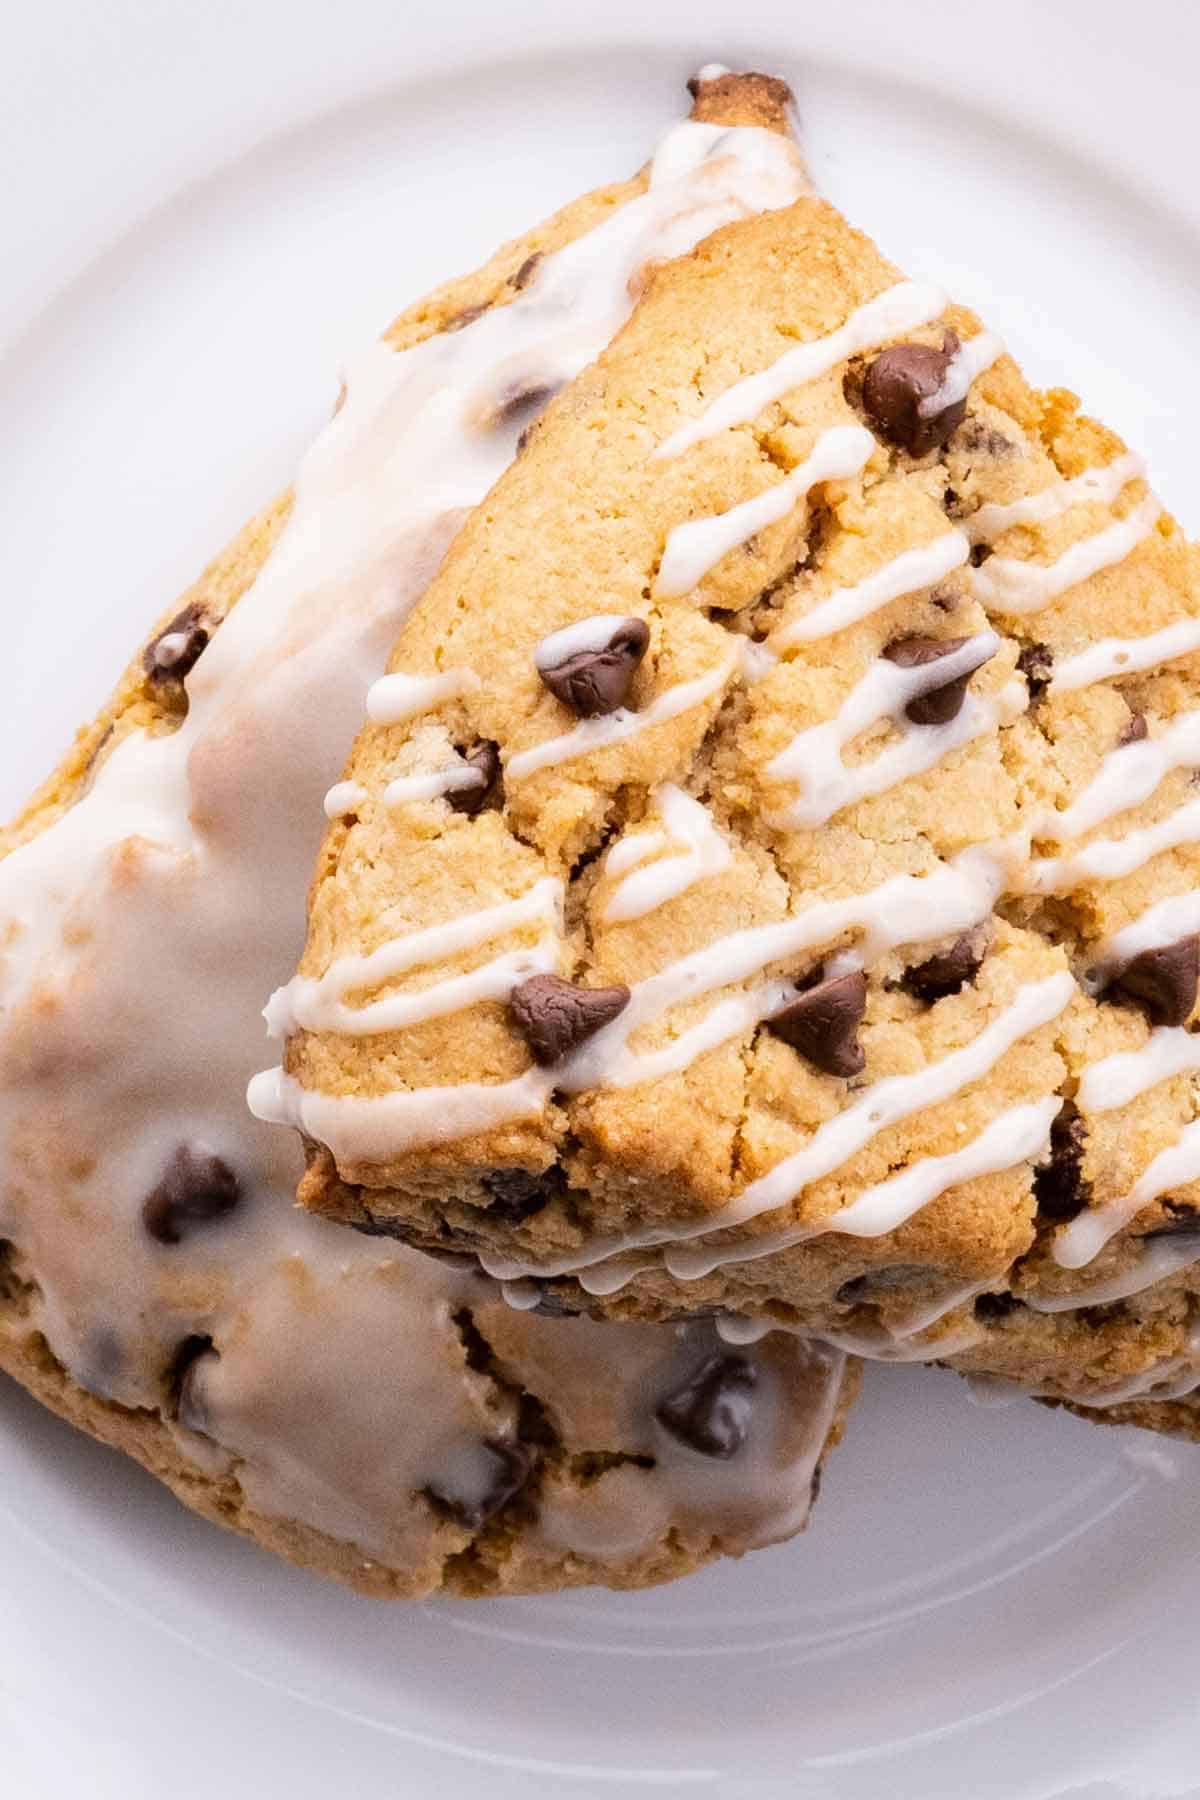
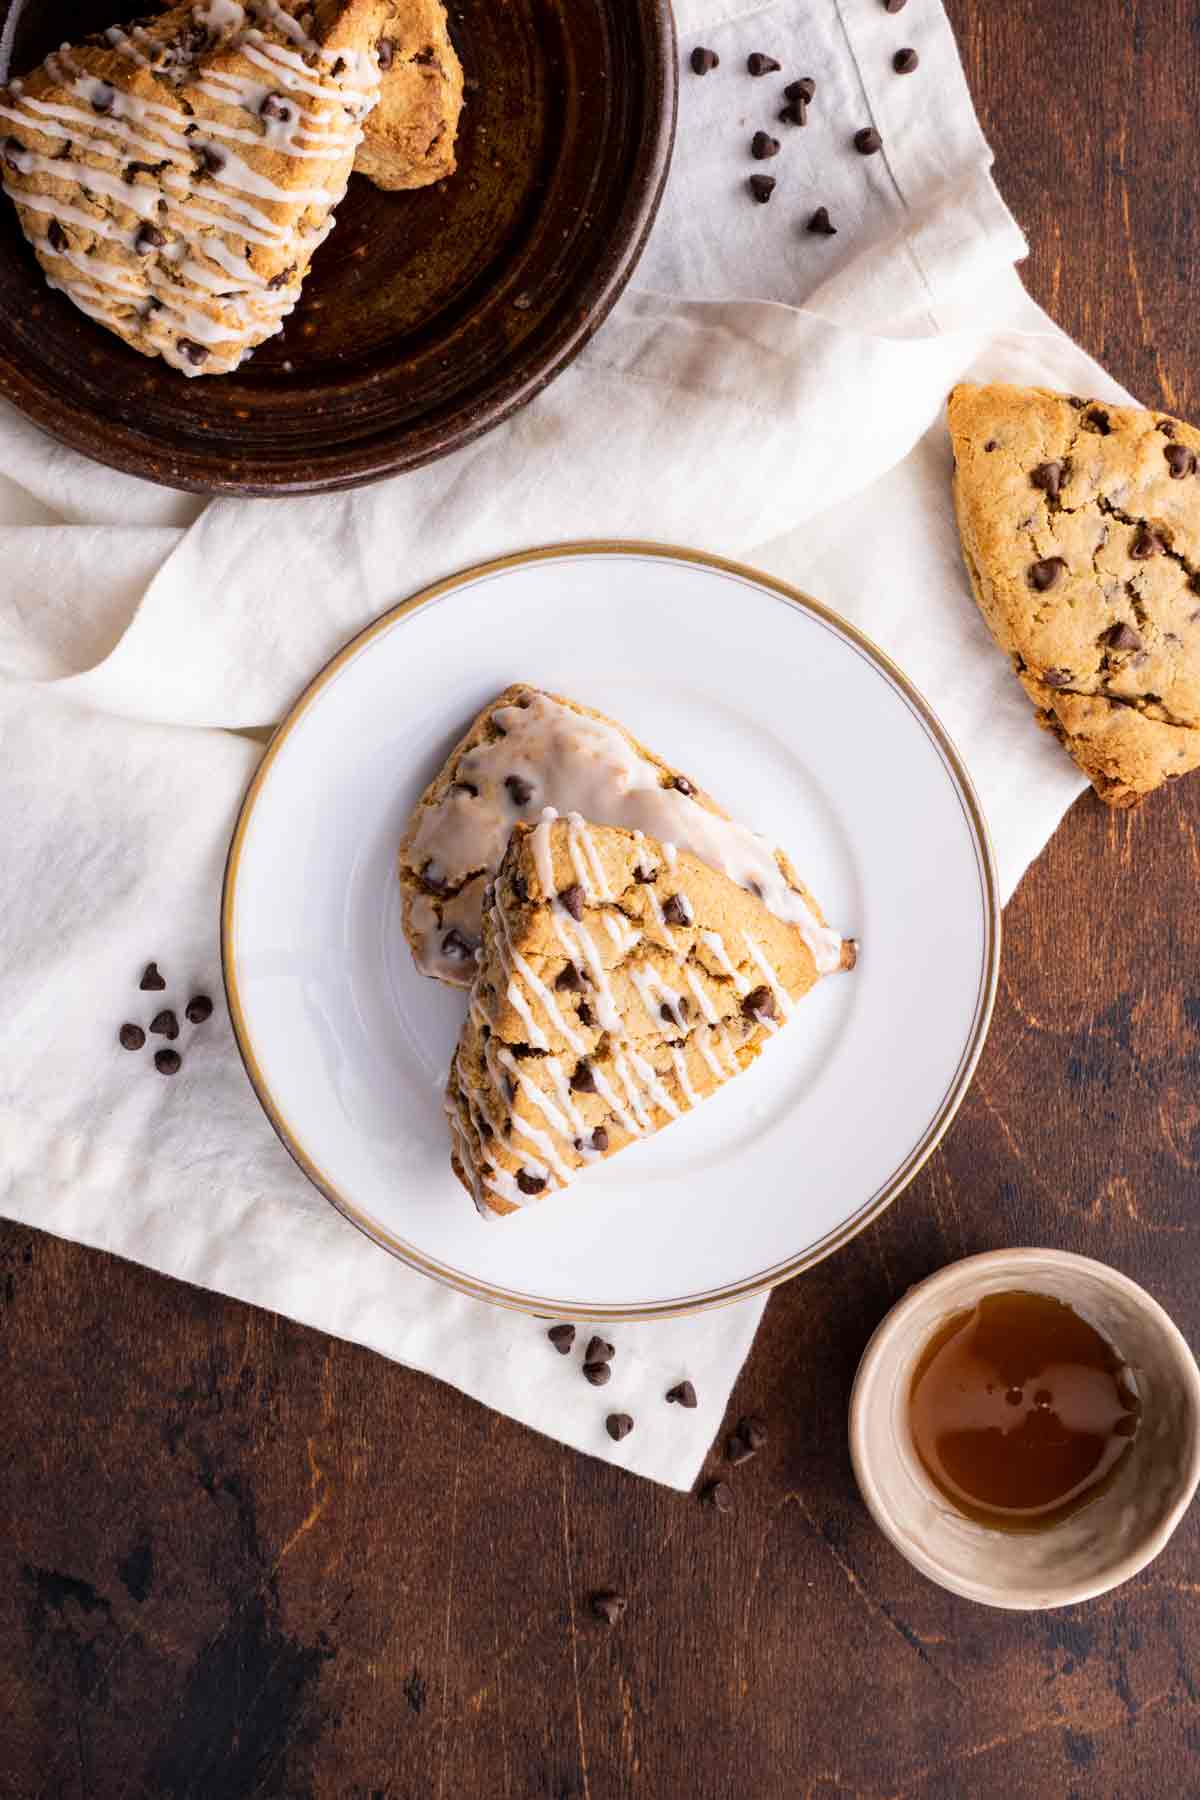
A perfect scone in my mind should be dry with a slightly soft center, somewhat crumbly but holds together and has a buttery taste to it when it hits your taste buds. Scones in general are typically lightly sweetened so aren't as heavy as other pastries but can be covered with a light glaze to add sweetness.
Yes. Make sure you're using parchment paper to line your baking sheet or silicon baking sheets - I love my silicon baking sheets and use them all the time. I haven't had burnt bottoms in years and they are less hassle and obviously reusable as compared to parchment paper. If you don't have them, I recommend buying them as a set with a baking pan otherwise you can run into issues with them fitting (or not fitting as the case may be) into your baking pan.
You'll need to gather your dough. Scones are dry by nature. That's part of their charm and what creates that melt-in-your-mouth effect. This does, however, make the dough very dry and will seem a but unusual if you're used to other types of dough. At the final stage, after adding the chocolate chips, the dough will still appear crumbly. Using your hands, you will need to gather up the crumbs and press them together until you form a ball of dough. Then you'll be able to press the ball flat and ultimately cut it before baking it.
This is tricky! They don't puff up as much as other pastries so the best way to tell if they are done is to look for a touch of golden brown color. This is hard when you're using cocoa powder though since that tint the color of the dough. So, the next best tell is to tap them with a fork and if they sound hollow, this indicated they are done. You want to be careful not to over cook them or they will become too dry, crunchy and not at all soft in the center.
Unlike biscotti, scones are really not supposed to be hard. They are dry, yes. But soft in the center, and the outside should be firm but not crunchy. 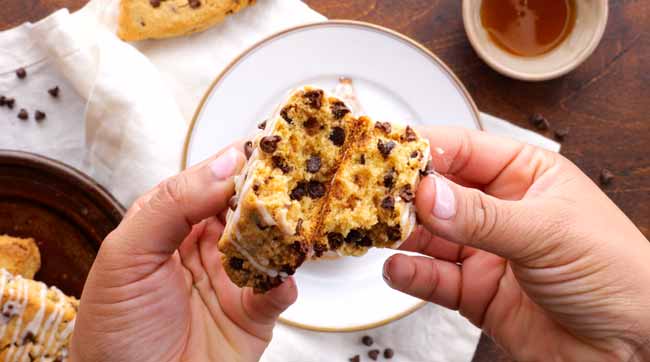
Biscotti, for comparison, is intentionally hard and dry because it's meant to be somewhat re-hydraated by dipping it into your coffee. Many times they have chocolate icing that melts into your coffee. If you want to try making biscotti, you can check out my easy chocolate almond biscotti recipe.
Yes! I love just a hint of cocoa powder in these. It gives the dough a richer flavor. However, it's an extra ingredient you might not have on hand. So it's totally fine to completely leave it out. No adjustments needed.
Yes. You can drizzle, you icing on using a piping bag or you can submerge your cooled scones in icing for more of a glazed finish. You can also enjoy these cones without icing. They are still very yummy on their own. Your choice!
★ More Breakfast Recipes ★


Want more easy breakfast ideas?
Browse all my delicious breakfast recipes.

Maple Chocolate Chip Scones
Equipment
Ingredients
- 2 cups white whole wheat flour
- 1 ½ teaspoon baking powder
- 2 teaspoon cocoa powder optional
- Dash of salt
- 6 tablespoon butter chilled and diced
- 2 egg yolks
- 2 tablespoon maple syrup
- ½ cup sugar
- ¼ cup half and half
- ¾ cup mini milk chocolate chips
Icing (optional)
- 1 cup powdered sugar
- ½ tsp vanilla extract
- 1-2 tablespoon milk
Mighty Mrs. is a #WalmartPartner.
Instructions
- In a large bowl, mix together flour, baking powder, salt and cocoa powder.
- Using your hands, press and knead diced butter into the dry ingredients until butter has combined with the flour.
- Add egg yolks, maple syrup, sugar, and half and half. (You can also use milk to lighten up the recipe or go heavier and use cream.) Stir until wet and dry ingredients are well combined and saturated. Dough may still be crumbly.
- Finally mix in the chocolate chips. If you'd like a polka-dotted look to your scones, set aside some chocolate chips to press into the top in a minute.
- Gather the dough with your hands and knead it into a ball. Press the dough ball flat between your hands forming a circle that is less than 1 ½" thick. Place the flattened circle of dough onto a lined baking sheet and slice the dough like a pizza, into eight slices.
- Spread out the slices to leave room for each scone to expand. If you want that polka-dotted look, press your reserved chocolate chips into the tops of your scones.
- Bake at 400˚ for 20-25 minutes or until edges just start to turn golden brown.
- To avoid over-cooked bottoms, remove scones immediate from the baking sheet and transfer to a cooling rack. Or carefully lift your silicon/parchment paper liner with scones from the hot pan and place onto a cool surface.
- If topping with icing, beat together powdered sugar, vanilla extract and milk in a bowl using a whisk or hand mixer until combined. Pour over or pipe icing onto cooled scones using a sandwich bag with the corner cut to form a small dispensing hole.

")
")

kat says
This recipe flopped for me. The dough was like sand and did not come together, I used that same scone pan because there was no way I could cut this into wedges. I followed the recipe exactly. It feels like there is a missing step in the instructions, such as kneading the dough a few times, or a mistake in the amount of liquid required.
Angela G. says
Hi Kat,
Thanks so much for this feedback. I actually re-made this recipe tonight because I wanted to see how I could better explain how this comes together. I see what you mean about the dough looking crumbly. What I didn't mention clearly is that you have to gather the dough at the end, after adding chocolate chips, and form it into a ball. It's a very dry dough since scones are ultimately dry pastries, but it will form together if you press it into a ball. Then you flatten the ball out, cut into wedges and bake. I've updated the instructions to hopefully be more clear about this. I hope you might try making them one more time!