This post contains affiliate links and I will earn a commission if you make a purchase. All the products I recommend are ones I actually use.
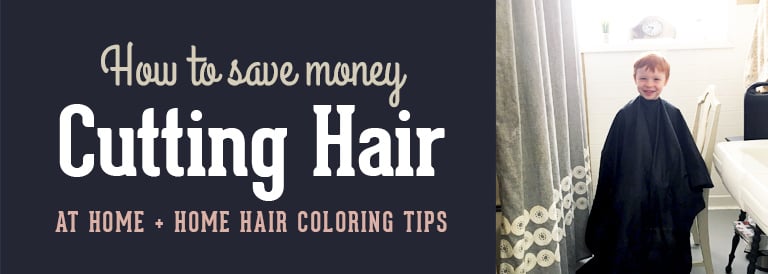
One of the ways we save money as a family is by cutting and coloring our own hair. I cut the kids' hair, I color my own hair and I sometimes cut my husbands hair if he lets me, ha!
I want to share with you all some tips and tools I use to create professional-looking hair styles at home. First let's start with some tips:
1. Use Pinterest to find your style. We are trying to be frugal, not trend setters necessarily, so I like to browse current styles to see what type of cut, style and for me, color, would look best. We take into consideration the season since we like to be practical and typically go shorter in the summer. Since I like to rock the pony tail, top knot, or the mom bun quite frequently, I don't ever go too short. For my son, I like how he looks with longer hair on the top, shorter on the sides. My daughter's hair is thick and she likes to wear it down but doesn't love brushing it, so we keep it shoulder length, typically. These are our personal preferences though. Point is, do a little research on Pinterest to get an idea of what style you want before you grab the scissors or clippers!
2. Invest in professional quality supplies. I know this is supposed to be about saving money, not spending money, but having professional quality supplies that you can use over and over again, will save you money in the long run. Here are the basics you need to cutting hair at home:
- Clippers - I use this very affordable set of Wahl clippers that includes multiple sized combs, and guides for trimming around the ears. I've have had to replace the set once after about 5 years of use because of a broken metal tooth. I'm not sure what happened but if I had to guess, it got dropped. Otherwise, we oil it before every use, keep it clean before we put it away, and it's good to go.
- Clipper Oil - We apply a little oil to the blades and move the leaver up and down to make sure they are properly lubricated before each use. This is important if you don't want hair to get yanked which can really hurt and make your kids not want to let you touch them with the clippers!
- Hair Cutting Scissors - I purchased a set that included thinning shears because both my daughter and I are blondes and our hair is thick! In the summer my hair gets huge so I like to thin it out some. I'm still perfecting my technique, it's trickier than you might think. I use the regular hair cutting shears for my daughter's hair or if I want to give my son or husband a longer style on top than the No. 8 comb.
- Hair Salon Cape - After a year or so of cutting hair at home, I finally decided to get a cape. It prevents hair from sticking to skin and clothes and it also sets the tone for my little ones that this is the real deal and they need to stay calm, not wiggly and let mom work her magic!
3. Learn the basics. There are a lot of great tutorials for specific styles on YouTube, but I'd recommend getting a handle on the basics first before you try anything fancy at home.
How to cut boys' hair - I'd recommend learning how to fade, how to trim the neck and around the ears. This video by Wahl goes over all these basics. Once you have the fade down, you can step up your home haircut game and try using a combination of clippers and shears. I like to use this technique on my son's hair. Once I've clippered the sides with a No. 3, fading into a No. 4 around the crown, I like to leave the top a bit longer than the largest comb which is a No.8. So for the top, I use scissors. This video shows an easy way to cut the top evenly using scissors and fade it into the sides. It also shows how to angle-cut the ends so that you don't get that dumb and dumb look, lol!
How to cut girls' hair - I like a layered haircut for girls so you don't get that funky flip-out that happens when you have a blunt cut. The layers also help hide imperfections so I consider it a win-win especially when it comes to cutting the hair of impatient, squirmy kids! Check out this video for cutting long layers.
How to thin out thick hair - Thinning your hair out can help your hair lay flatter and really keep you cool in the summer. Here's a great video for how to thin your own hair out the right way.
4. Get your kids to cooperate. The best way to get them to be on board with home hair cutting, I've found, is to explain to your kids what you're doing as you go along. Show them the tools, tell them how you're using them and then show them the progress in the mirror as you go along. This take a little bit more time, but when you let them be a part of the process, I find they are more cooperative and appreciate the end result more.
5. Color your own hair. I've been dying my own hair for 20 years now! While, I do not use professional products, I am pretty much a pro at using the off-the-shelf dye. I've had a lot of bad experiences so here are some tips I can tell you to avoid making the same mistakes:
- Do NOT use one box of color to dye your whole head of hair. No matter what color you choose, you will end up with very flat looking, unnaturally colored hair. The reason is, natural hair is all different shades. If you are blonde for example, you will have some strands of hair that are very light, almost white, and some strands that are closer to brown. The variety in natural hair color adds depth to your hair that you loose when you color all your hair the same color.
- DO use a cap to apply color. Whether you are lightening your hair or going darker, I recommend using a cap so that you achieve that variety of color and depth that natural hair has. I typically get a kit that's specifically for highlighting that includes a cap and hook. I usually reapply every two months or so depending on how my roots look.
- DO use a hook and cap kit even if you are going darker. I'm not sure why they don't sell prepackaged kits with darker dye that includes a cap, but you can buy a hook and cap kit separately.
- One thing I've noticed, and maybe it's me, but because I frequently highlight my own hair, it becomes dry. I use the following combination of products daily to get a healthy shiny look. Step 1 - After I get out of the shower, I apply a serum to my hair while it's still wet. I've tried a lot of brands and the one I've found works the best for the best price is Fructis hair serum. Step 2 - After I apply the serum, I apply a gel, all over. Again, I've tried a lot of brands of gel. Most of them do the job equally well so I typically get whatever hair gel is on sale. Step 3 - This is my final step, I just discovered this awesome wax stick to smooth any stubborn frizzies I have left. It's a little pricey but it works like magic and the stick lasts a really long time. It's the TiGi Bed Head hair stick. Once I apply all those products, I "style" it either but putting it in a ponytail or I blow dry and straighten it.
That's really it guys! It's easy to do your own hair if you're just looking for some basic styles. I estimate I save about $1,200 a year compared to salon prices by cutting my kid's hair and coloring my own hair.


Leave a Reply