Skim by Section
Hello my fellow food-loving, good-photography-appreciating friend! I'm so glad you're here. You and I seem to have a few things in common. We appreciate the arts and we're also a fan of good food.
Because of these two loves, I started this blog back in 2009. Since then, I've been working on becoming a better cook for my family and a better photographer for my readers. My goal is to share my recipes and to do that, they have to look as good as they taste.
Getting Serious
I've been seriously working on my food photography since about October 2014. After discovering the very successful food blog, Pinch of Yum, I became infatuated with all of Lindsay's food photos. Each one was a piece of art—perfectly composed, lit and styled. The colors and textures of the food we always on point. Drool!!!
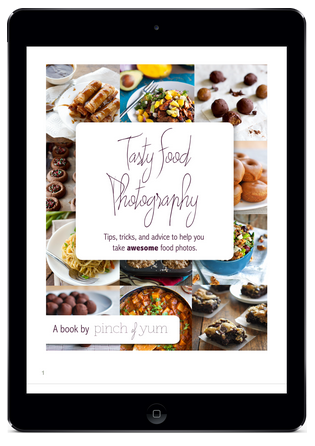
After admiring her photos for awhile, I learned that she wrote an ebook called Tasty Food Photography outlining all of the tips and tricks she uses in her own food photography. I considered whether it would be worth the $29 fee for about .1 seconds and then downloaded it.
Holy moly. It was—not even exaggerating—life-changing. It's full of information that Lindsay has gathered from attending workshops all over the country and photographing hundreds of her own recipes. Plus, she was a 4th teacher before she became a full time food blogger so the book was really easy to follow and offered tons of practical tips.
Putting Knowledge into Action
That year after reading Tasty Food Photography, I posted my first behind-the-scenes look at my recipe photography featuring a re-make of one of my recipes Orange Candied Carrots. Here are some of the photos showing tricks I learned from the book in action:
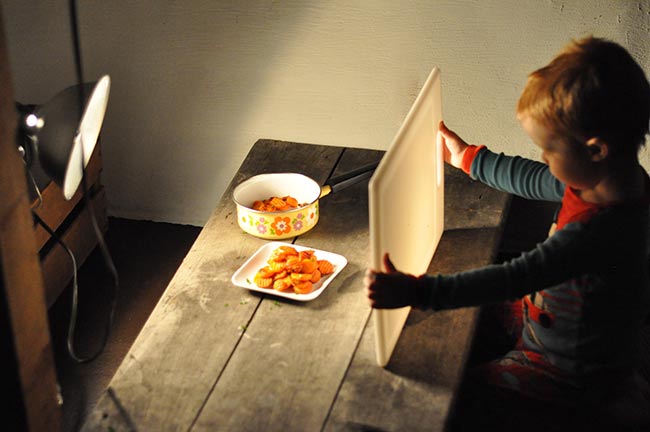
I had a little assistance from my tiny helper. 🙂
The cutting board is actually acting as a reflector of light to compensate for the shadow from the light on the left.
Here are the carrots with and without the reflector. Can you see the difference the reflected light makes?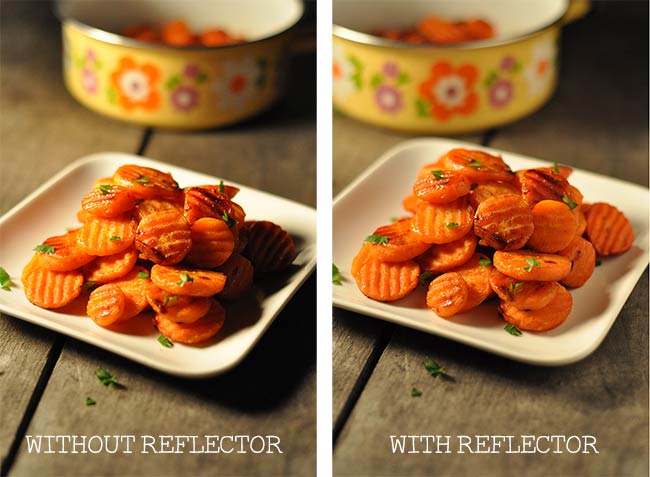
Before and After
Then the final image compared with one I had taken two years prior to that. It wasn't going to win a food photography award or anything but it was clearly a lot better!

Wouldn't you say that's a bit of an improvement? I mean, you don't need to actually say anything about how bad the first one is but feel free to tell me how scrumptious the new one looks. 😉
You don't know what you don't know.
That major improvement did not come from investing in expensive equipment. I was using a cheap clamp light, a free weathered wooden surface reclaimed from — don't judge — a trash pile, a thrifted vintage pot and small white plate (also thrifted). The techniques outlined in Tasty Food Photography are what made the difference!
Food Photography Workshop
I was so excited about how much my food photography improved after just reading this book, that in 2015 when Lindsay offered her first ever food photography workshop, I (again) thought about it for about .1 seconds, then scrambled to reserve my seat before the class filled up. I was in! A few weeks later, I hopped on a plane headed to Minnesota where I would get to meet not only Lindsay but 12 other amazing food bloggers.
I was in heaven as I entered a beautifully decorated studio with succulent centerpieces, a gorgeous buffet of food and a room full of creative, food-loving ladies. I definitely felt like I was meeting a celebrity as Lindsay greeted me at the door. I couldn't believe I was actually meeting her in real life and she was about to SHOW ME how to take photos. Me and my eager beaver self tried to absorb as much as I possibly could each day from Lindsay and the other food bloggers. Here's what that looked like:
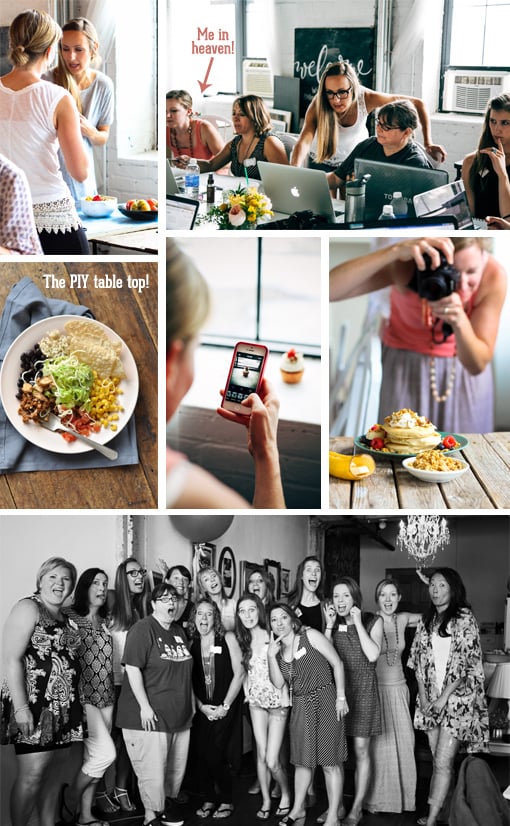
(Photo credits Pinch of Yum & Amy's Healthy Baking)
So it's now been years since then! I feel like my food photography is still improving every time I set up a shoot, but it's really come a long way. If you page through my recipes, you should be able to see that gradual improvement that has happened over time. As Lindsay (and her husband Bjork) like to say, it's about the grit. From continually making small improvements over time, you'll achieve great results. So with your own grit and a little guidance from the best of the best, you can see your photos improve too.
Tasty Food Photography Book
I actually just yesterday re-read Tasty Food Photography which is what inspired this post and unbelievably gleaned a few additional tips that I must have missed before. So, whether you're new-ish to food photography or you've got a few years of experience under your belt, I'd venture to say that there are nuggets of wisdom for you inside of Tasty Food Photography and I (obviously) highly recommend getting yourself a copy and if you are lucky enough to get a chance to attend a Pinch of Yum workshop—do it!!
Equipment I Use to Take Food Photos
You might be wondering what you need to get started. So I'll tell you what I use. These are the basics you'll need to photograph food:
- A DSLR - I started with a Nikon D90 and then upgraded to a Nikon D750 which is full frame. What that means is I can get closer to the food and get more of the scene in the frame. The D750 also has les grain when you adjust the ISO. This was important to me because I don't always use a tripod, and during the winter months, sunlight is limited.
- A Tripod - I don't always use my tripod but it's very helpful for things like a pour shot. You can get a separate remote for your camera or some cameras will connect to your phone so you can use that as a remote. So then you are free to move around and pour, shake, hold, etc. the food in your photos.
- Lenses
- My favorite lens is my Nikor 105mm f2.8 lens. It's not cheap. But if you want that beautiful contrast of a focal point against a blurred background (aka bokeh) then this lens is great for that.
- If you want a much cheaper way to achieve that same look, check out the Nikon 50mm f1.8 lens. You won't be able to get as close up to the food with this lens as the 105mm but you can get some really beautiful bokeh going on with this lens.
- Artificial Lights - I really prefer using window light whenever possible but sometimes you'll want to take photos at night or in a space that doesn't have windows. In that case, you can get a set of soft box lights to work with.
- Reflector/Diffuser - The bigger the better on this and you'll get why once you get into things more. This is a handy tool to help you get your lighting just right.
- Photo editing software - I use Adobe Photoshop but you can also use Lightroom . Both are Adobe products and are typically what the pros use.
- A computer or laptop - I use a MacBook Pro to do my editing. I've used both PCs and Macs and I just prefer Macs. I like the controls, the user interface and the ergonomic design of the equipment.
Hope you find this helpful to your own food photography journey!


Angela G. says
Hi Dorothy, You are so sweet and cute. 🙂 Thanks for sharing your blog but I couldn't get it to load. Is the link correct?
Alex Brown says
I love to see comparison photos. I only shoot in my house(Small Budget) and I think with this tip and Del Mar's [ ] lighting tips I'll be much better! Thanks!
Dee says
Love this article. I'm learning more about how to capture the perfect photo too myself for my own blog and yes, shadows make a huge difference. I like how you have shown a before and after 🙂
Angela G. says
Ohhh, what's your blog link? I'd love to check it out.